I’ve been working on a new outliner for beorg. It’s not quite ready to be enabled by default, but if you’re keen to have a sneak peek, it’s easy to enable.
Make sure you are running beorg 2026.8 before trying this out.
Enabling the new outliner
The following is easiest if you are a beorg Premium subscriber, or have purchased the Customize extension. Alternatively, you can use an init.org file.
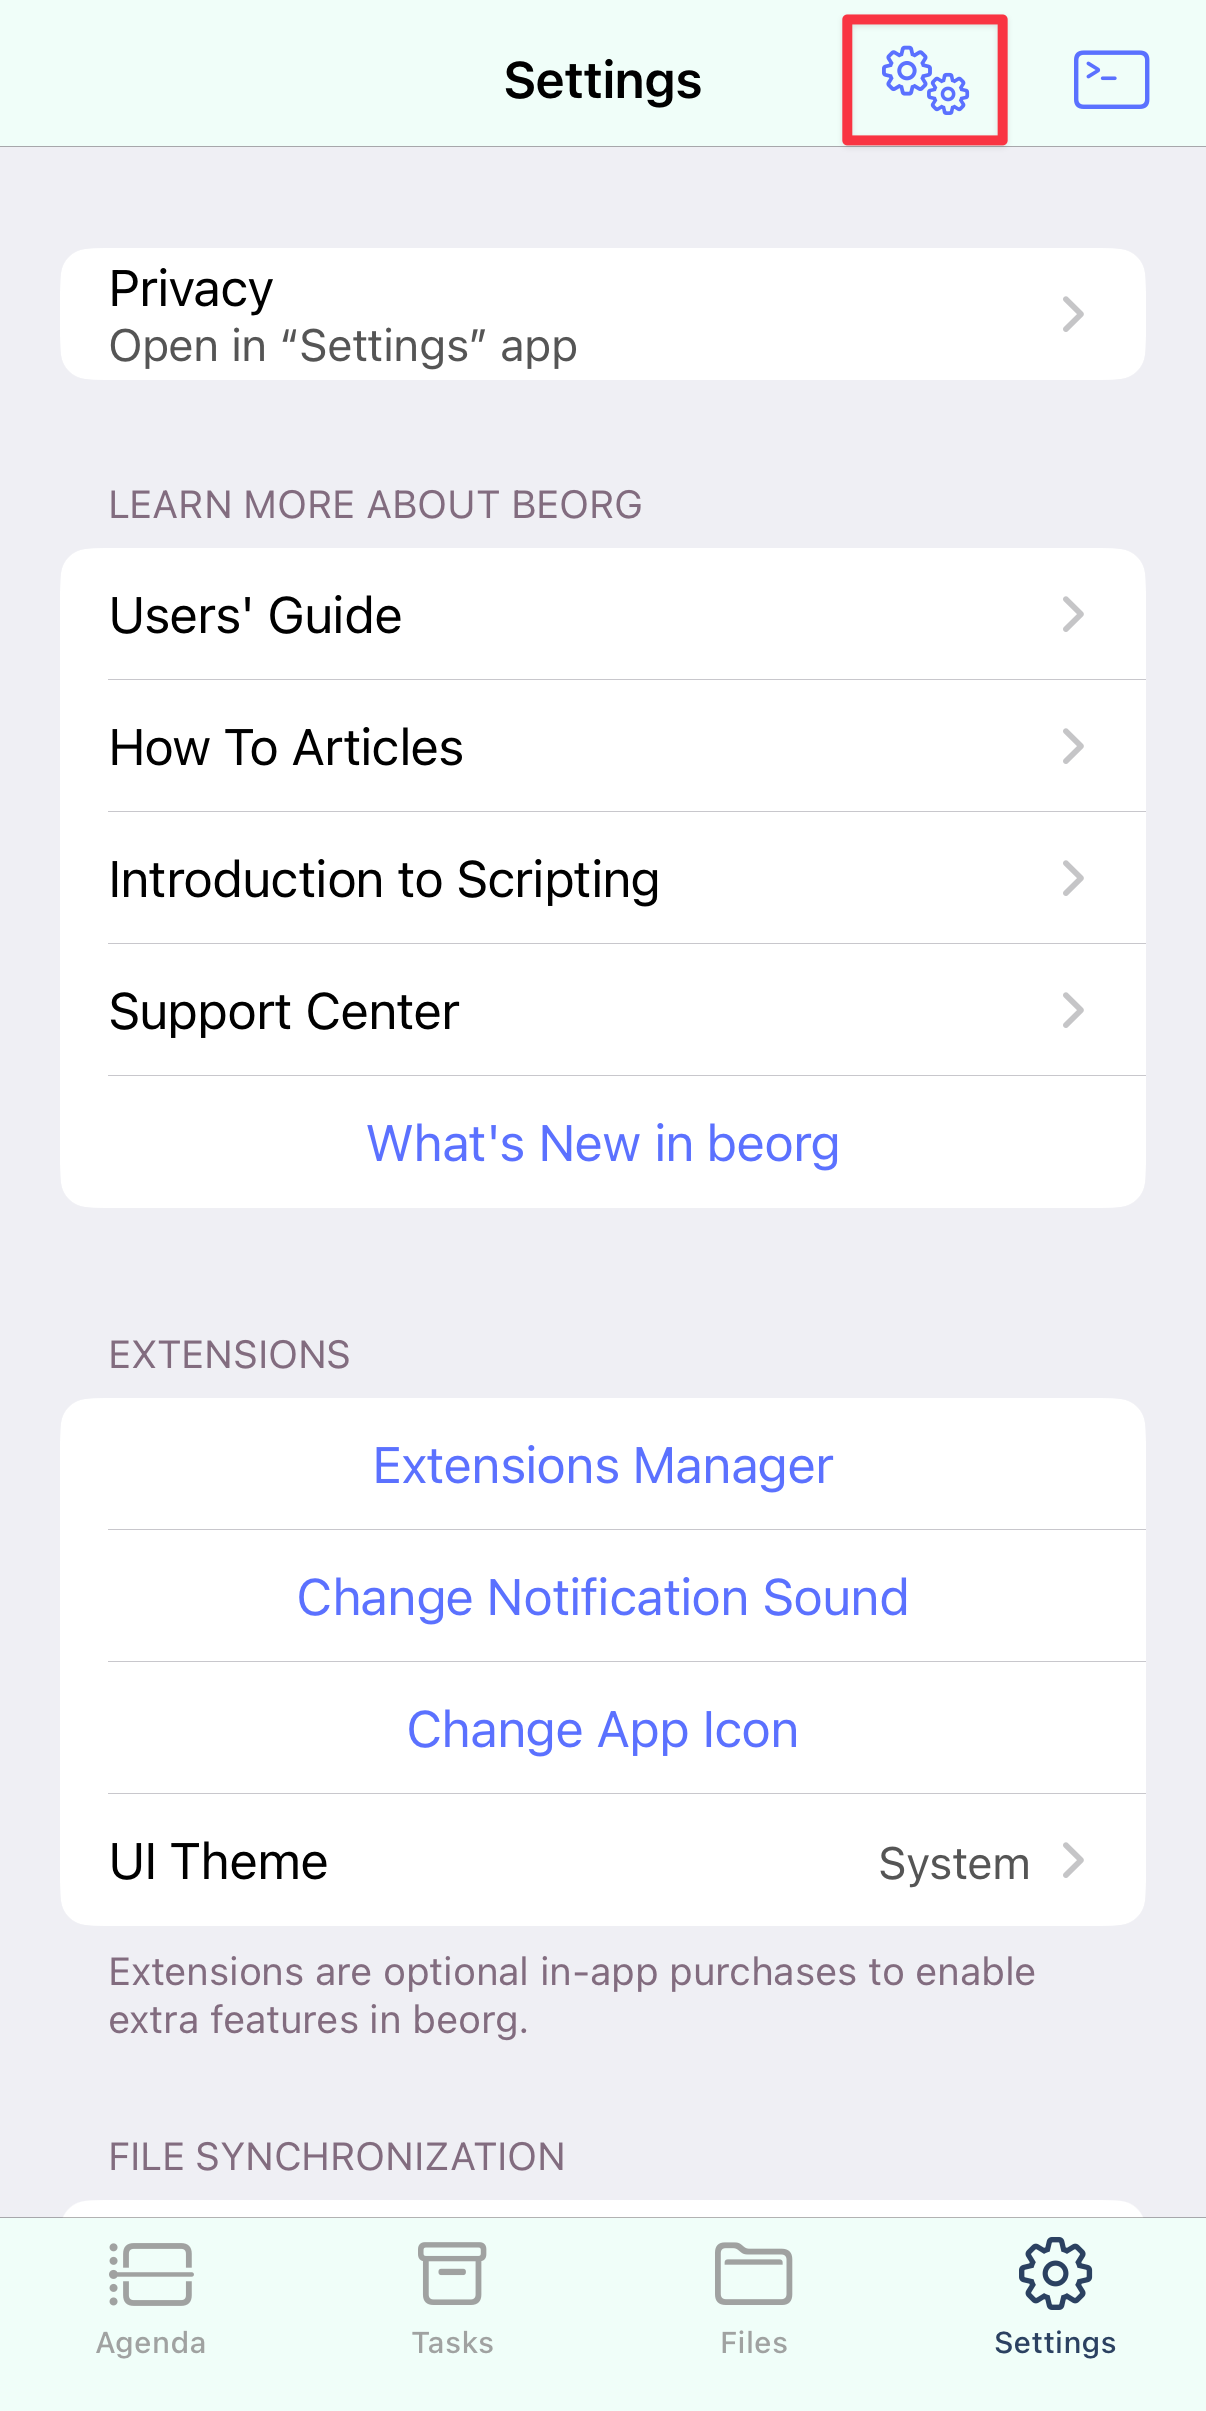
Go to the Settings tab and tap the Customize button.
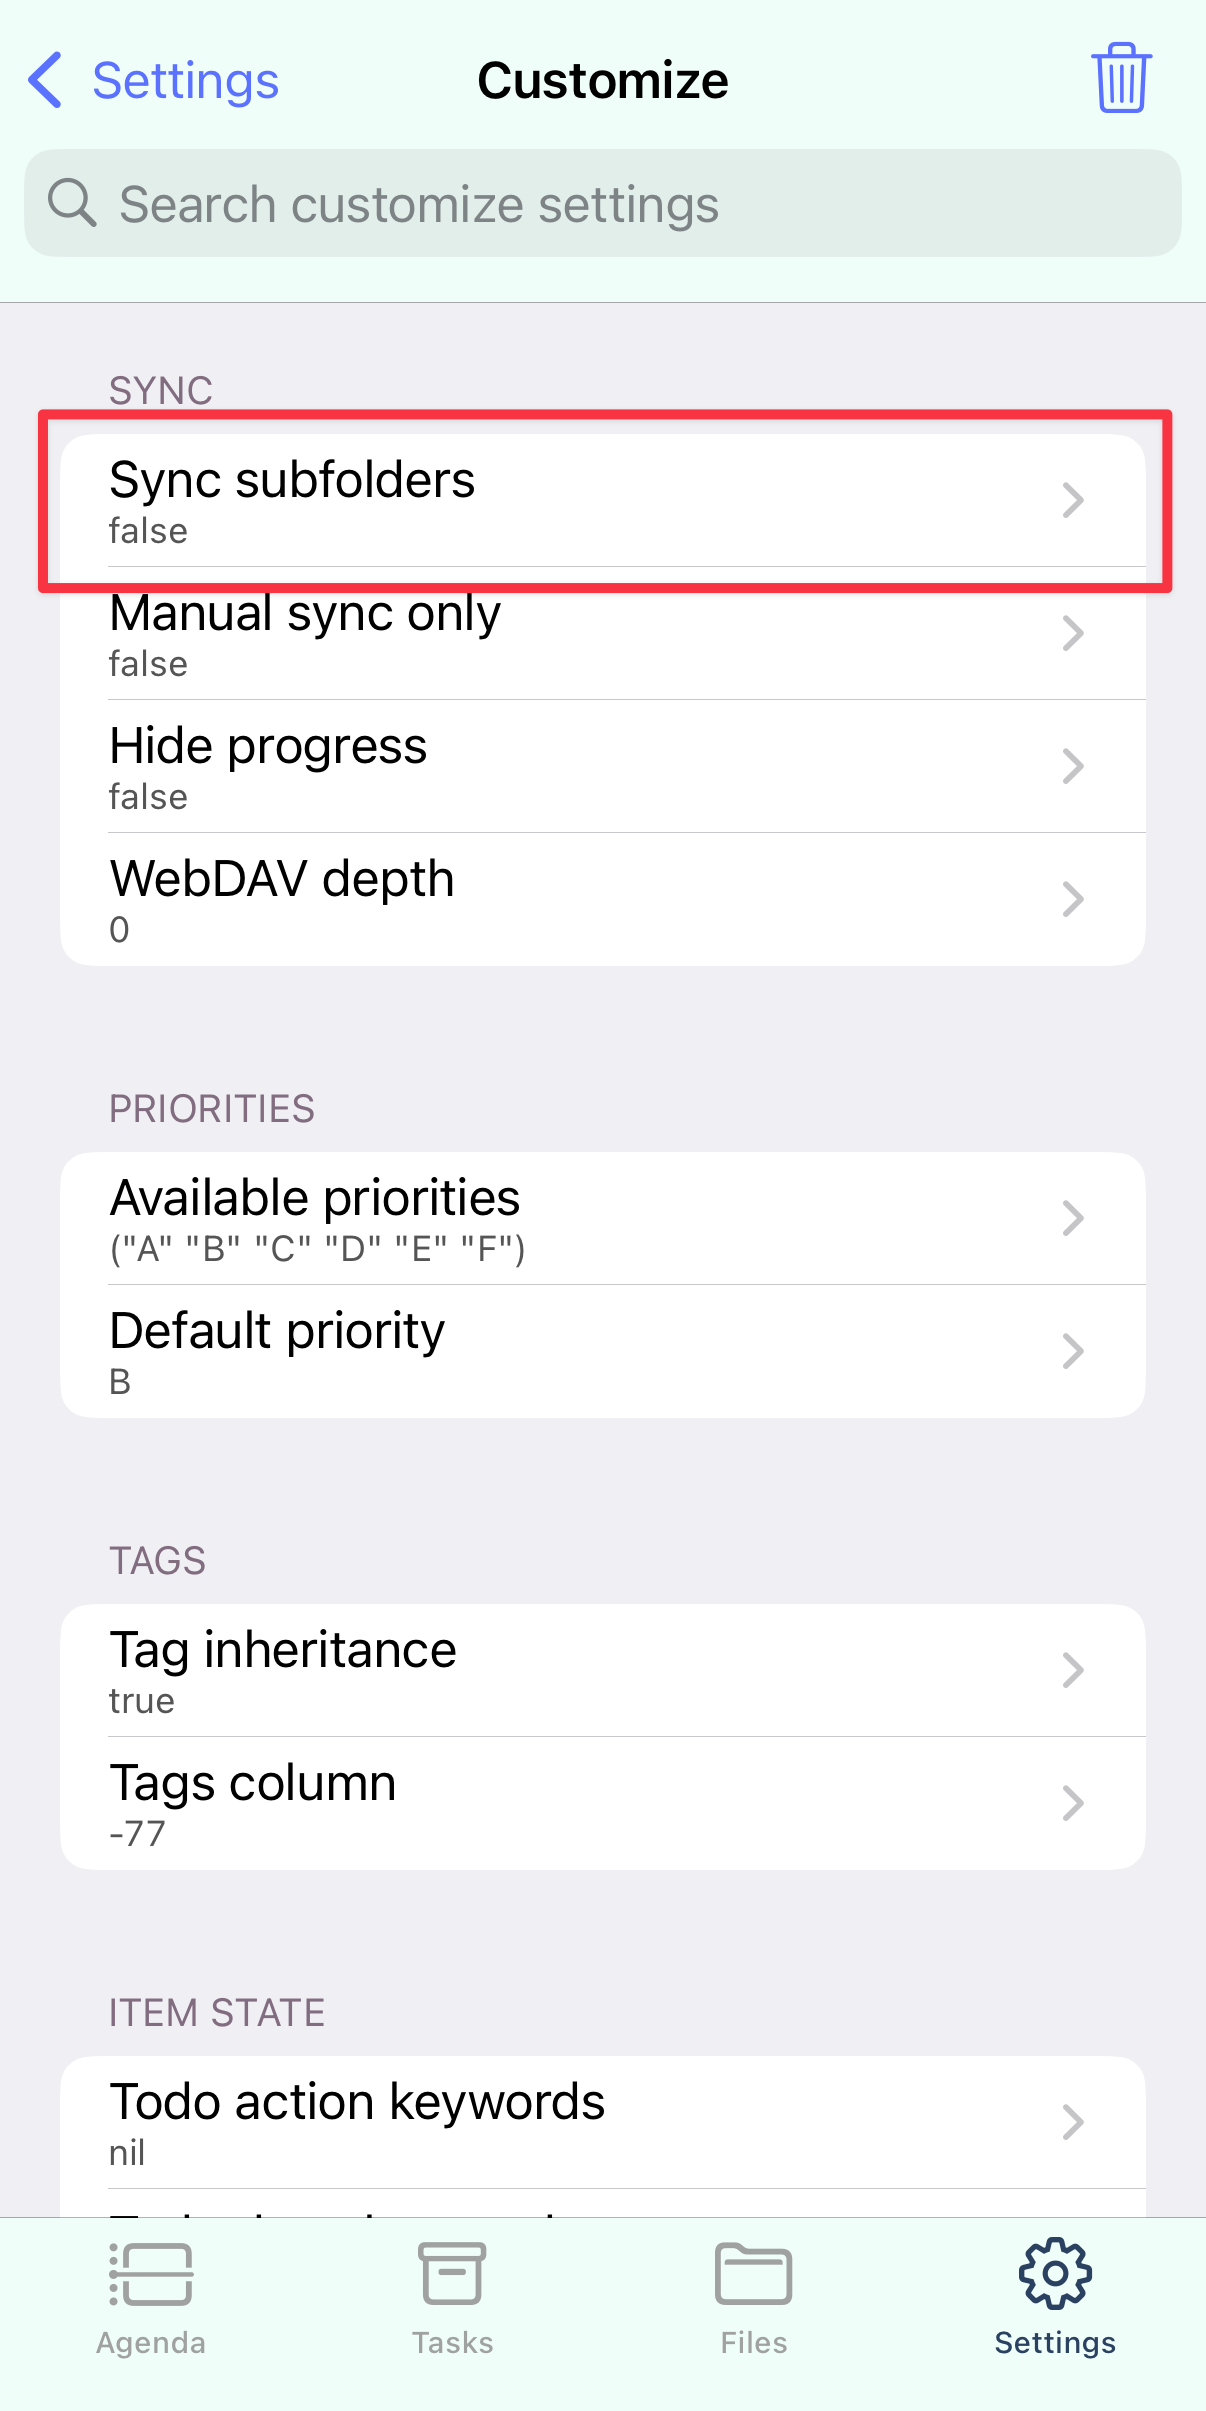
Some of what I’m going to show you requires subfolders to be enabled, so start by changing “Sync subfolders” to true.
You’ll be asked if you want to restart beorg. Tap “Restart Now”, and then return to the Customize screen.
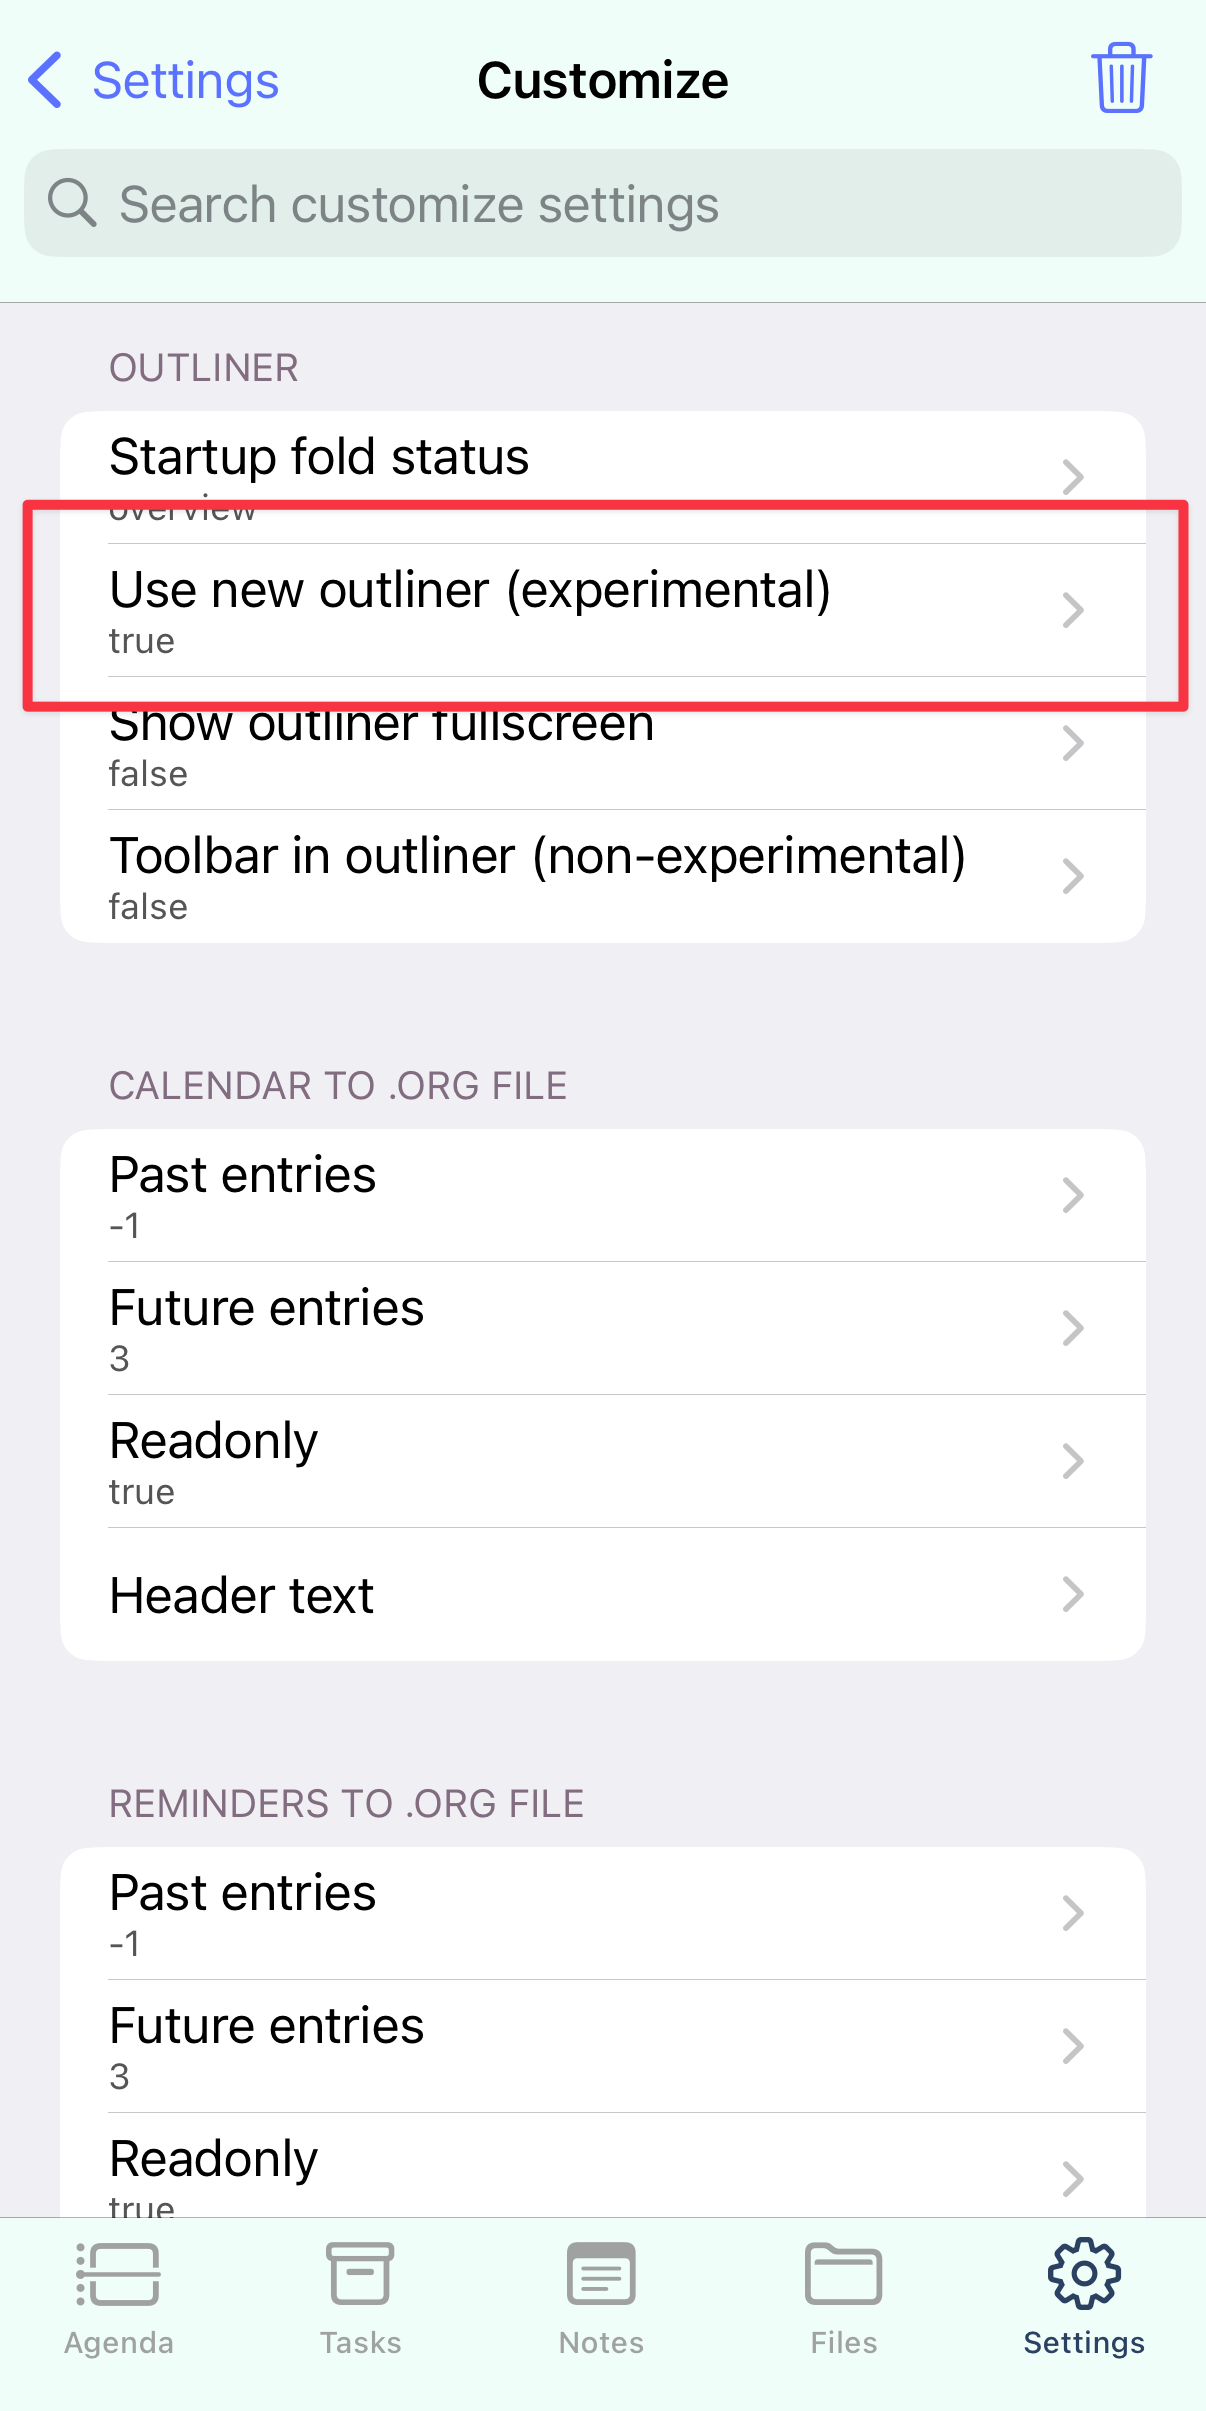
Next, you’ll want to scroll down to the “OUTLINER” section, and set “Use new outliner (experimental)” to true.
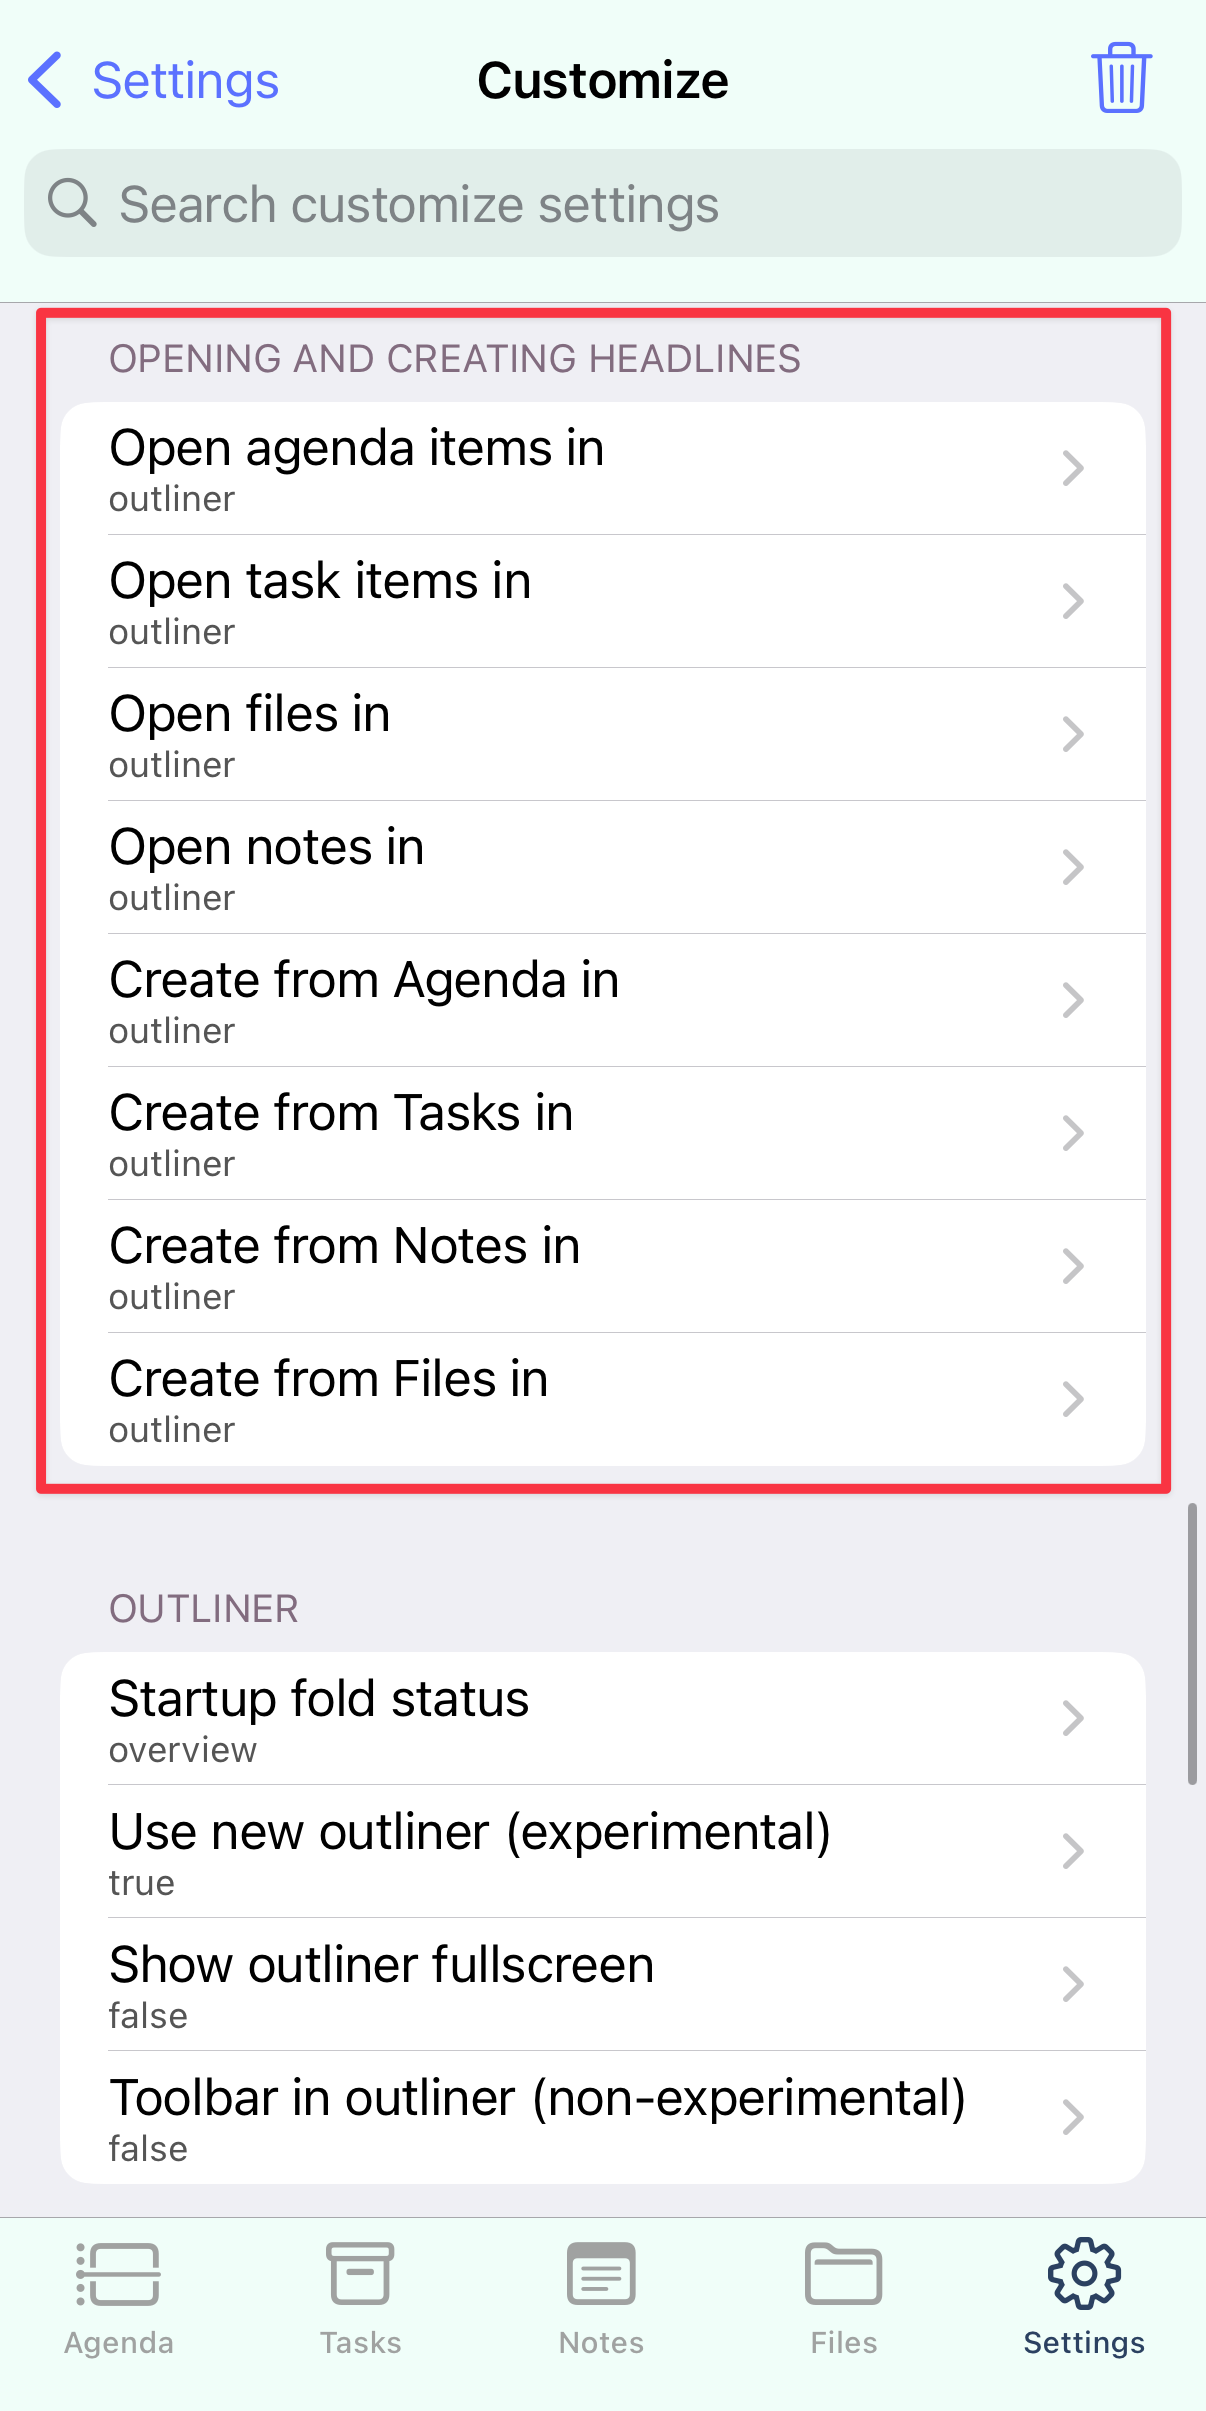
Finally, to see how the new outliner can be used across beorg, you’re going to tell beorg to open items from the agenda and tasks in the outliner, and to use the outliner for quick capture. Change all of the settings you can see below to the “outliner” option.
Using the new outliner for quick capture
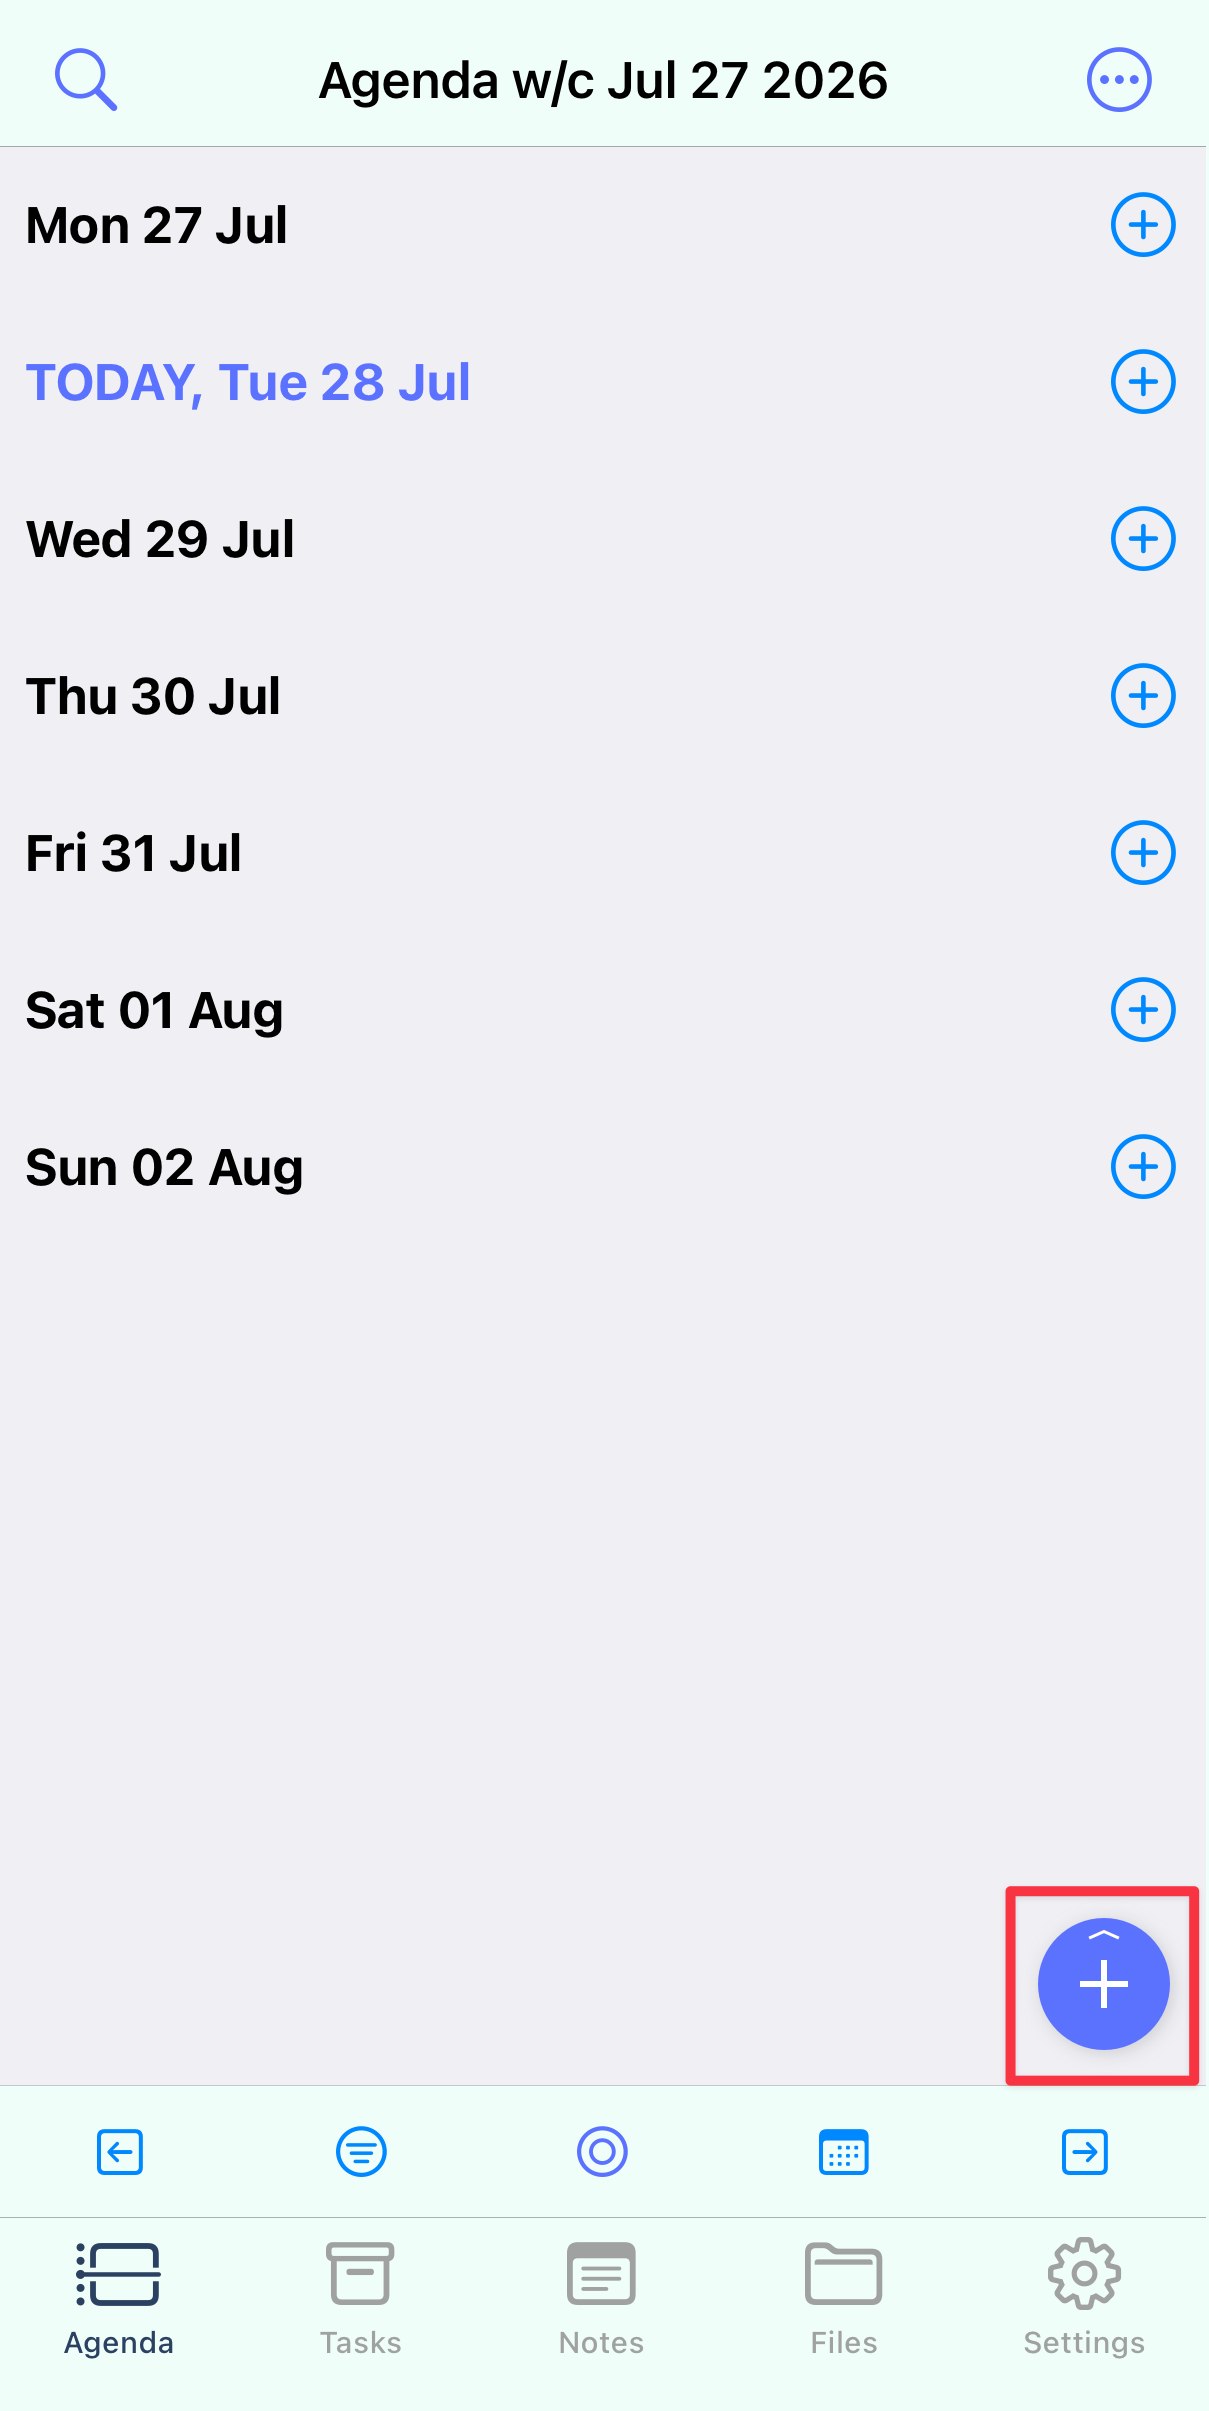
Tap the quick capture “+” button on the Agenda, Tasks, or Files tab.
Instead of the usual item editor, you’ll be presented with the outliner, ready to capture a new item and add it to your inbox.
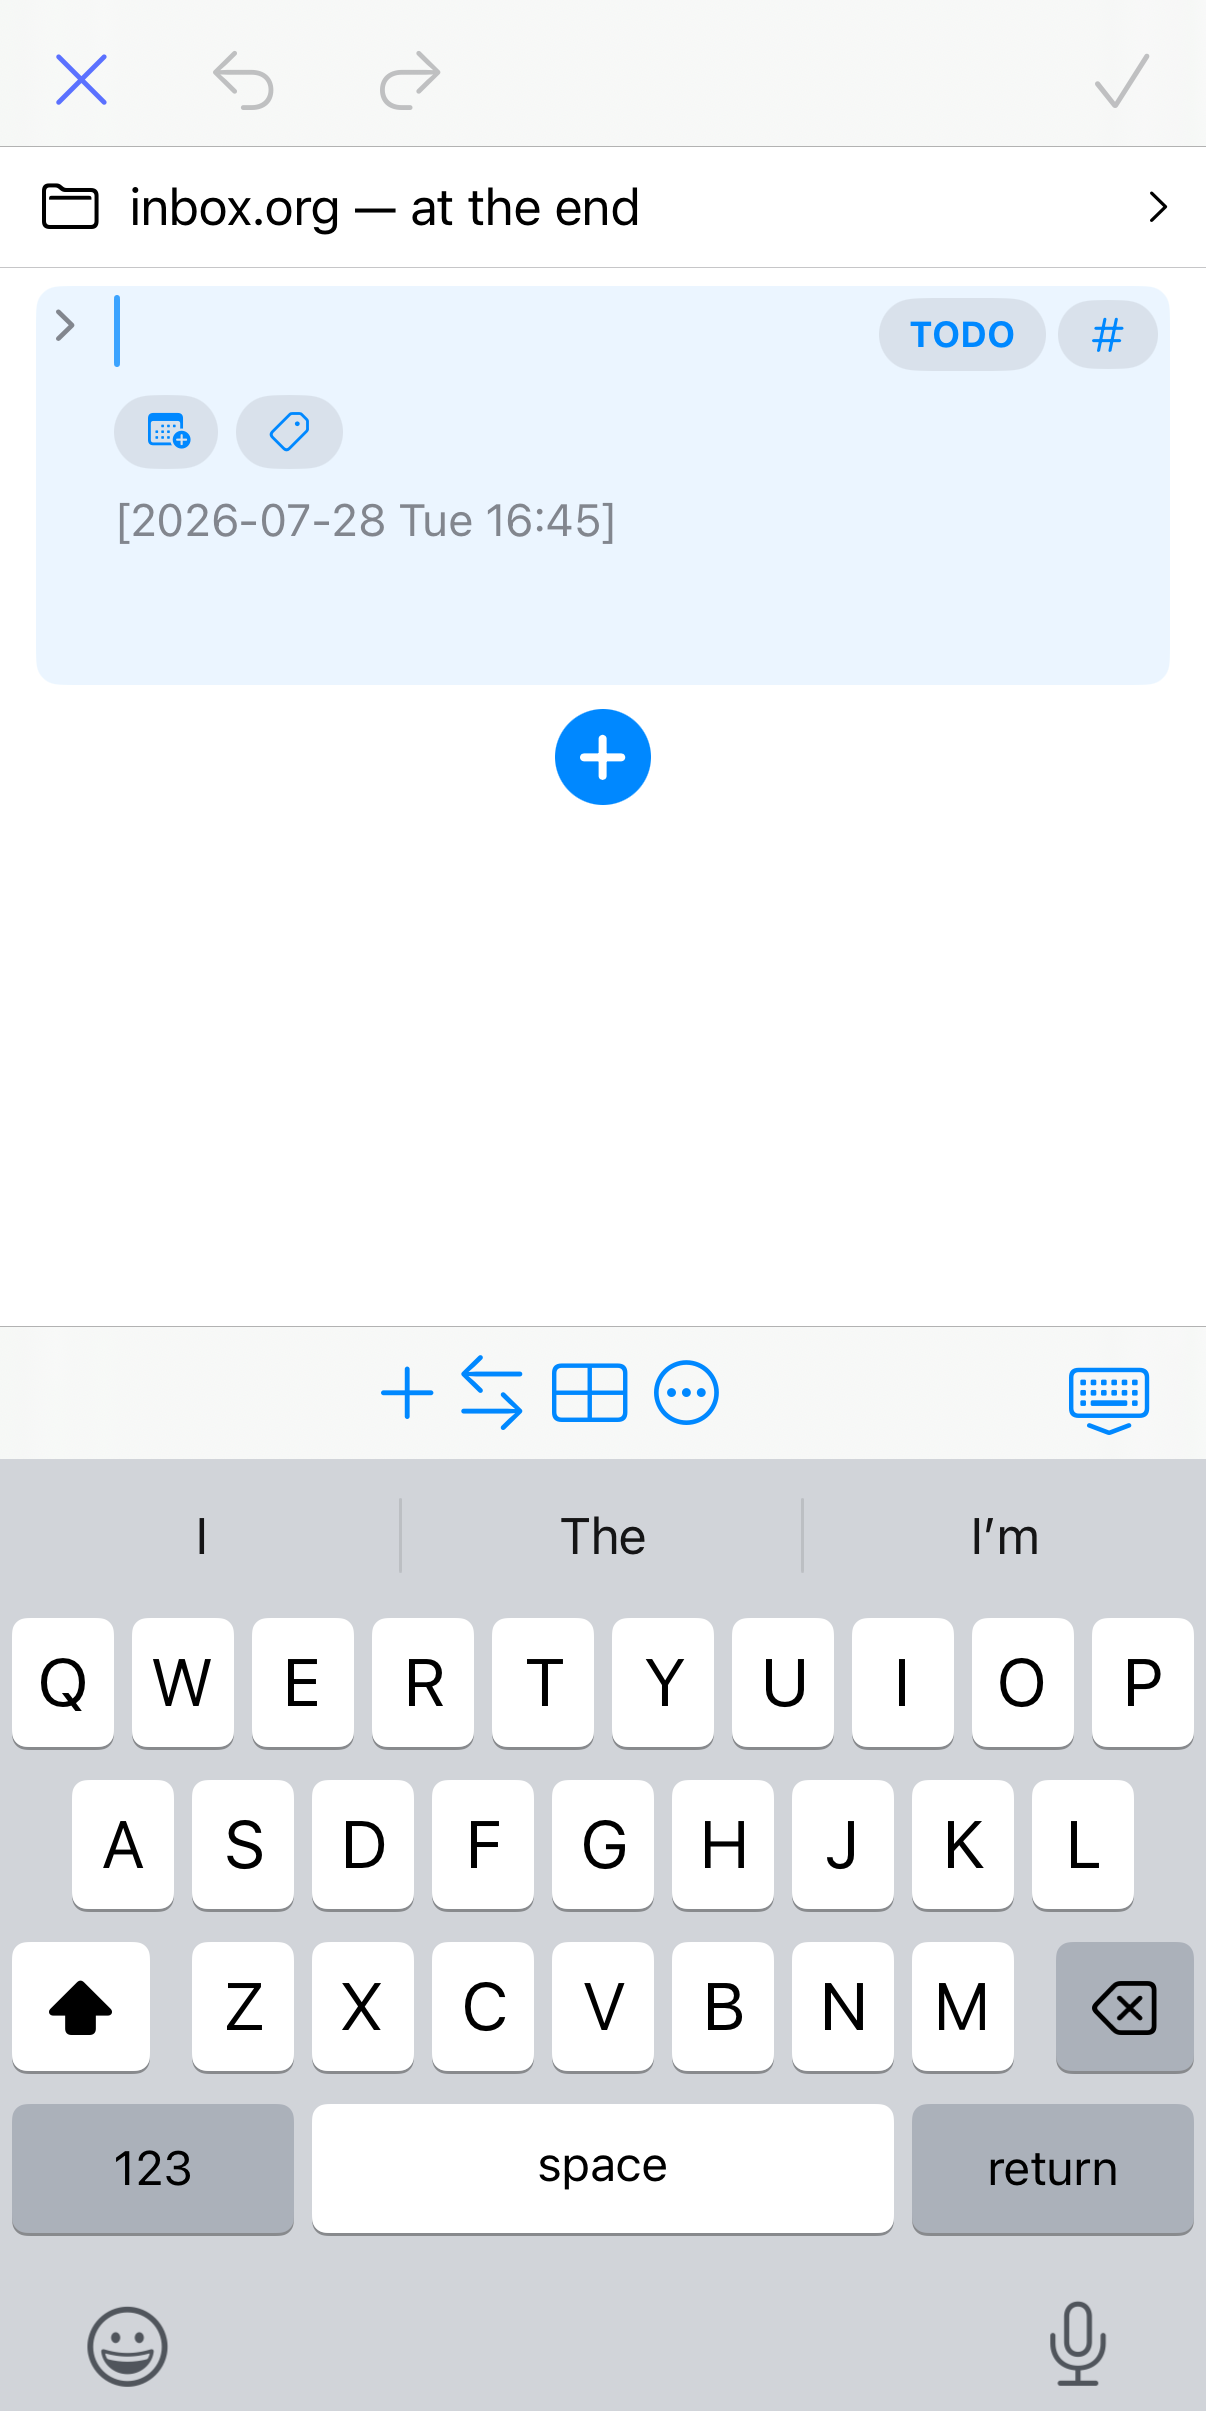
The old beorg outliner didn’t feature inline editing. The new outliner feels like a proper outlining app. Just edit the headline text and notes inline.
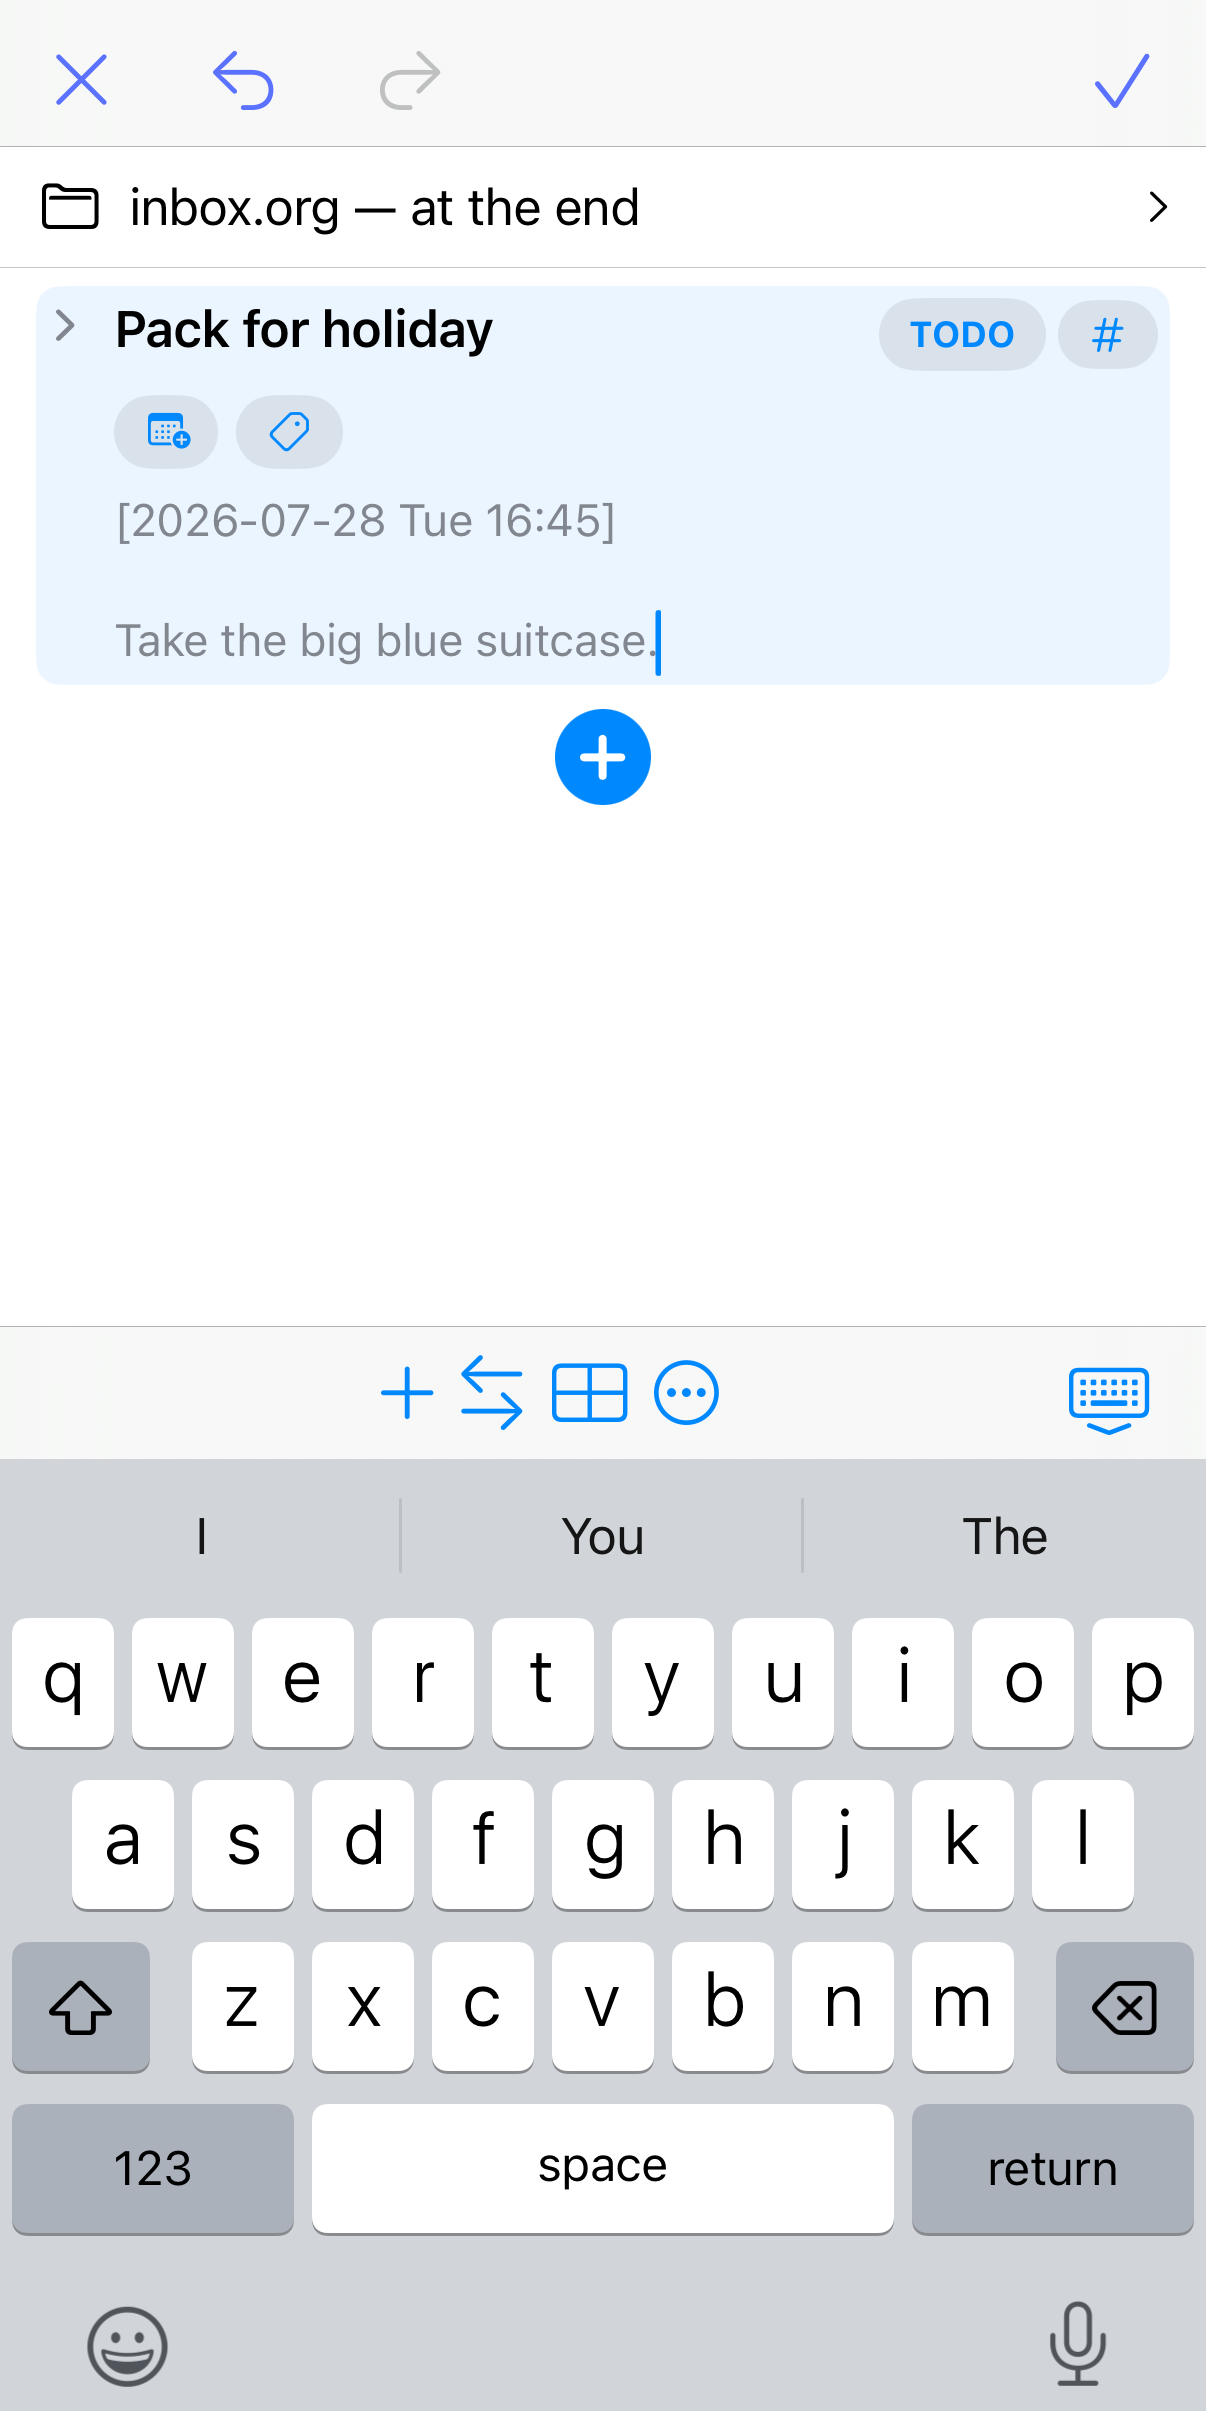
If you want to change the task state, tap the keyword button and choose the state you want from the menu. Similarly, it’s just a couple of taps (or a tap and slide) to set a priority.
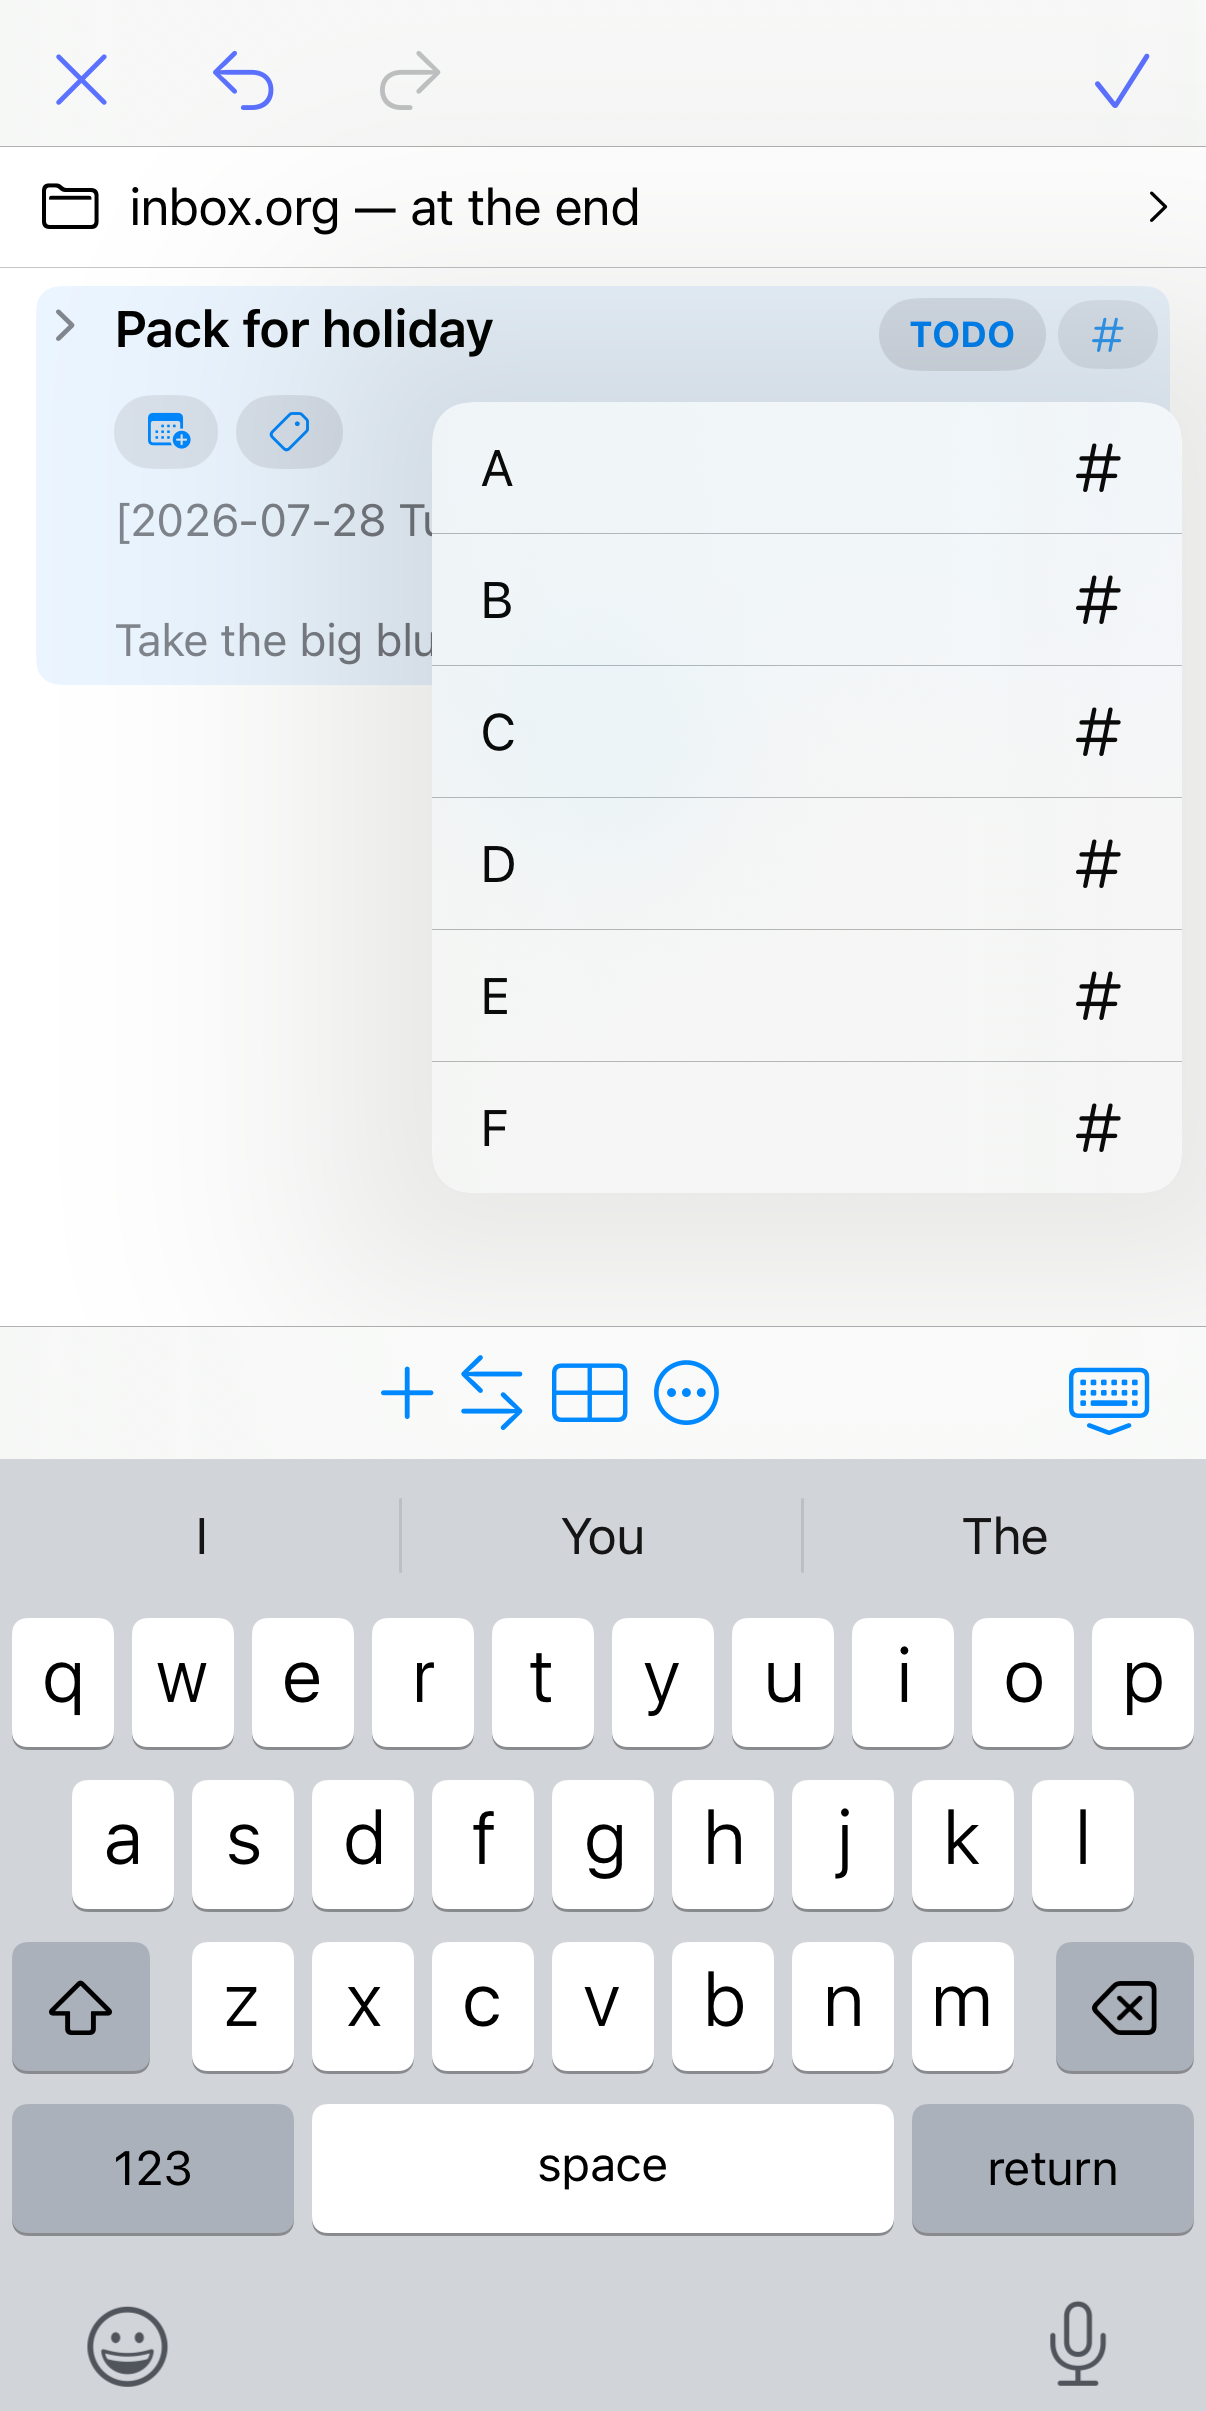
The item editor used a lot of space for the different types of dates you could assign. The new outliner shows a single button, which allows you to choose either Scheduled, Deadline, or Show On (inactive). That then shows the date picker.
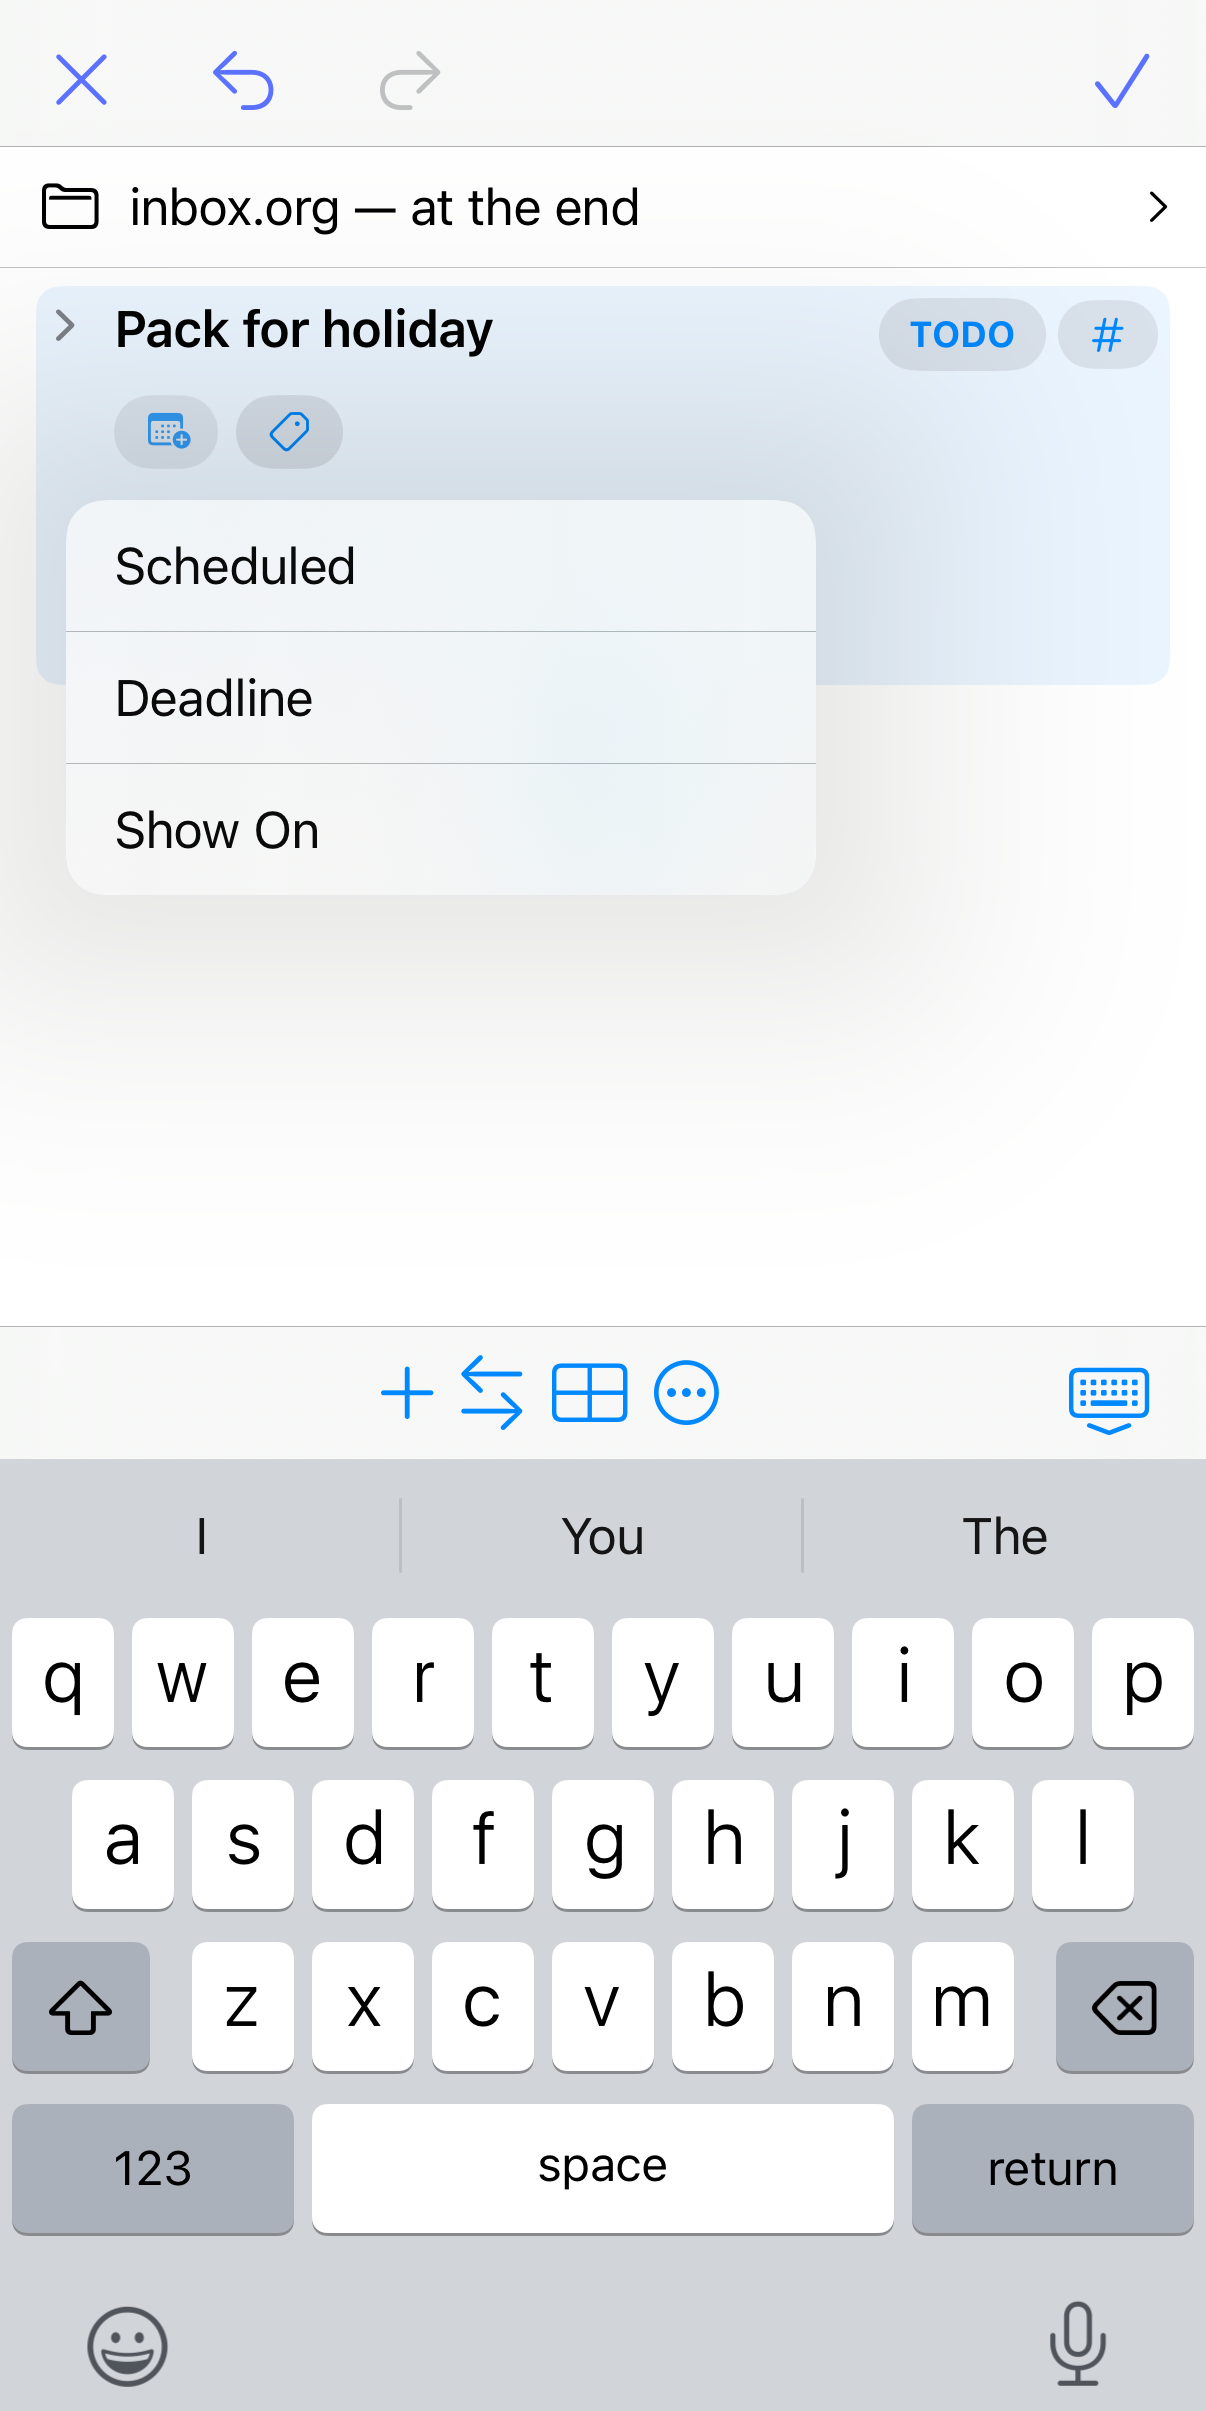
Once set, the date shows on the same row.
Next to the date picker button is a button to set tags. Tap this to see the tag picker. If there are more dates or tags than can be displayed on the row, scroll horizontally to access them.
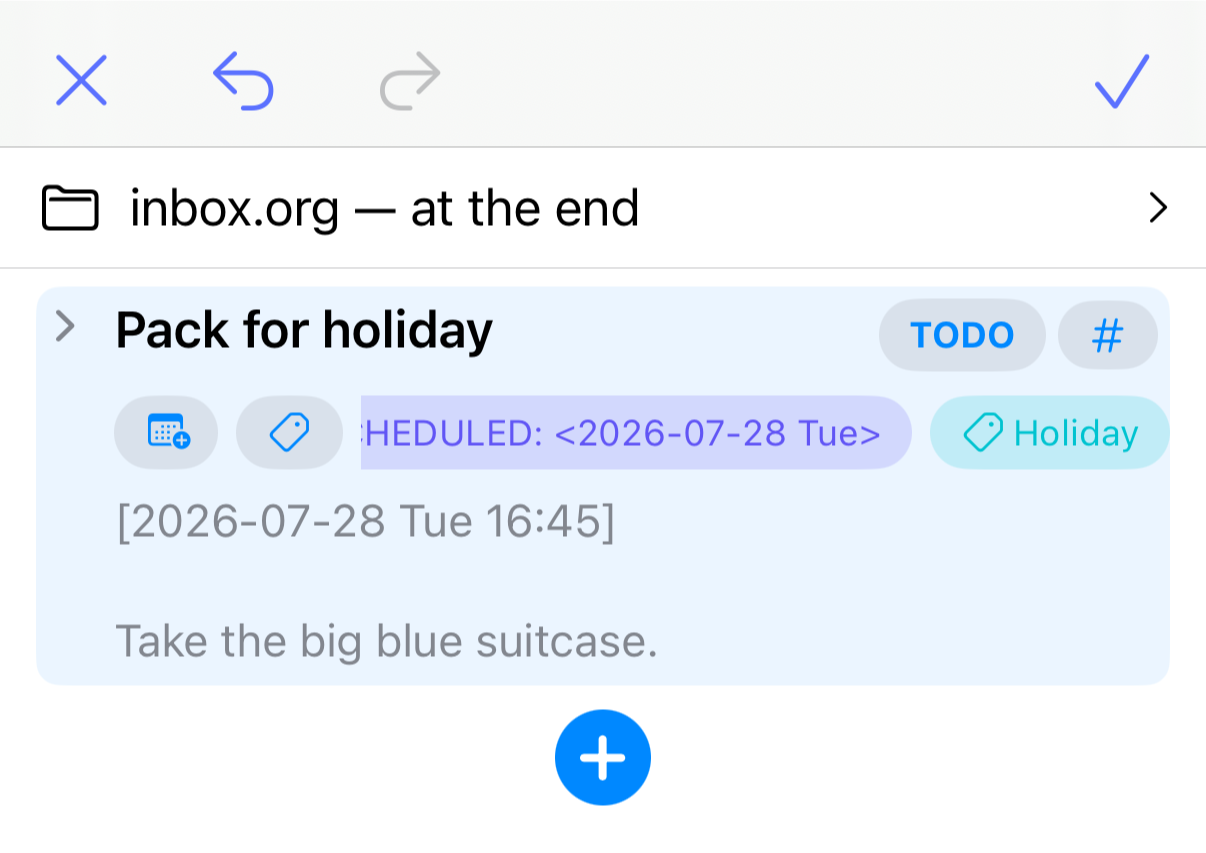
To capture the item, tap the check button (top-right). To cancel, tap the X button (top-left).
General outlining
If you tap the task you just created, you’ll be presented with the outliner, ready to edit the file it lives in. The outline will scroll directly to the selected task.
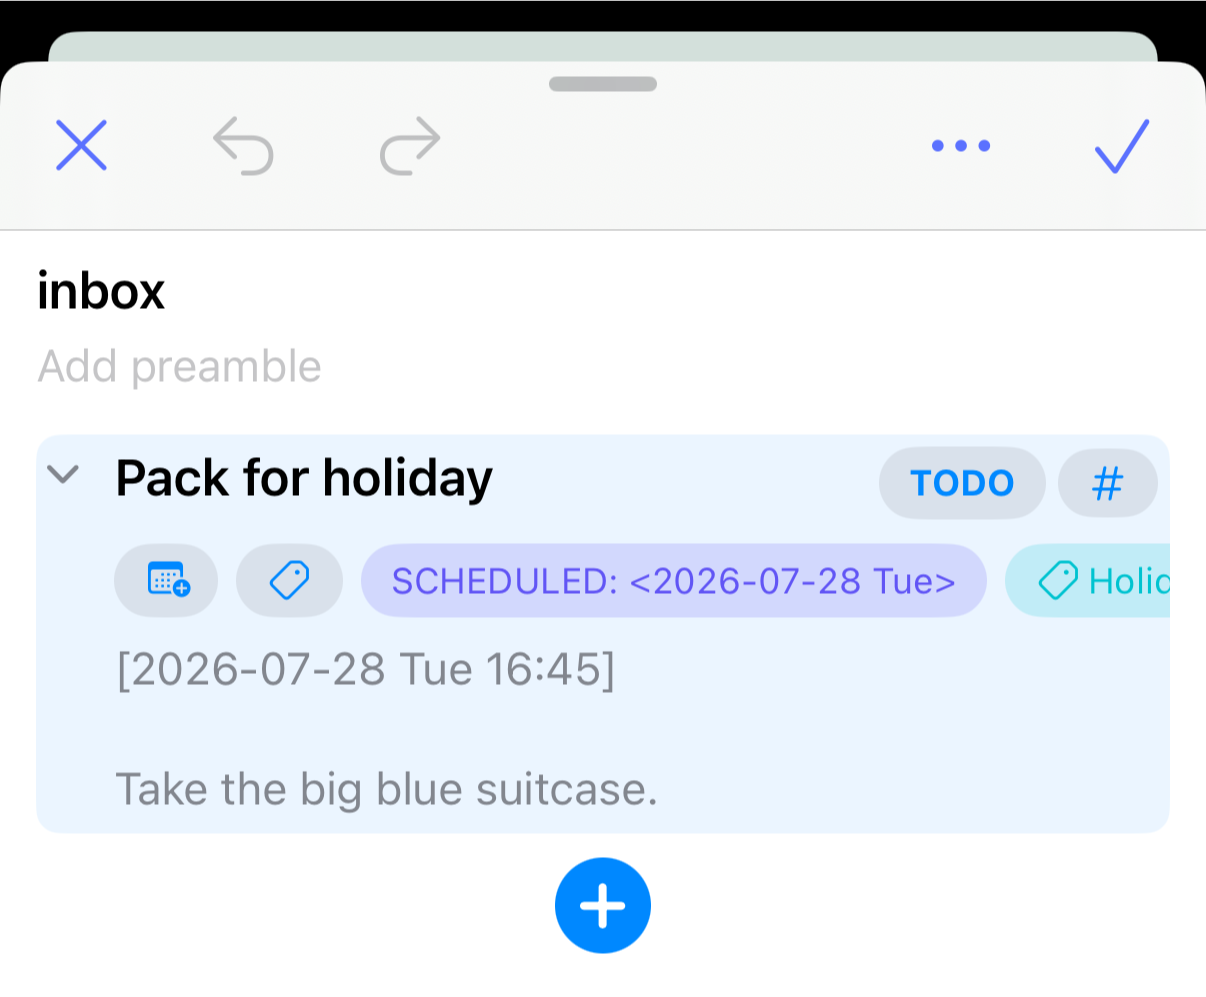
You can start editing an existing item by tapping the headline text, notes, or any of the metadata (keyword, dates, tags, etc.).
To create a new item, tap the plus button (bottom-center underneath the last item in the file). The keyboard will activate, if it isn’t already showing, ready for you to start typing.
You can quickly create multiple items by tapping “return”.
To add a child headline, tap the plus button on the toolbar above the keyboard, and select “New child headline”.
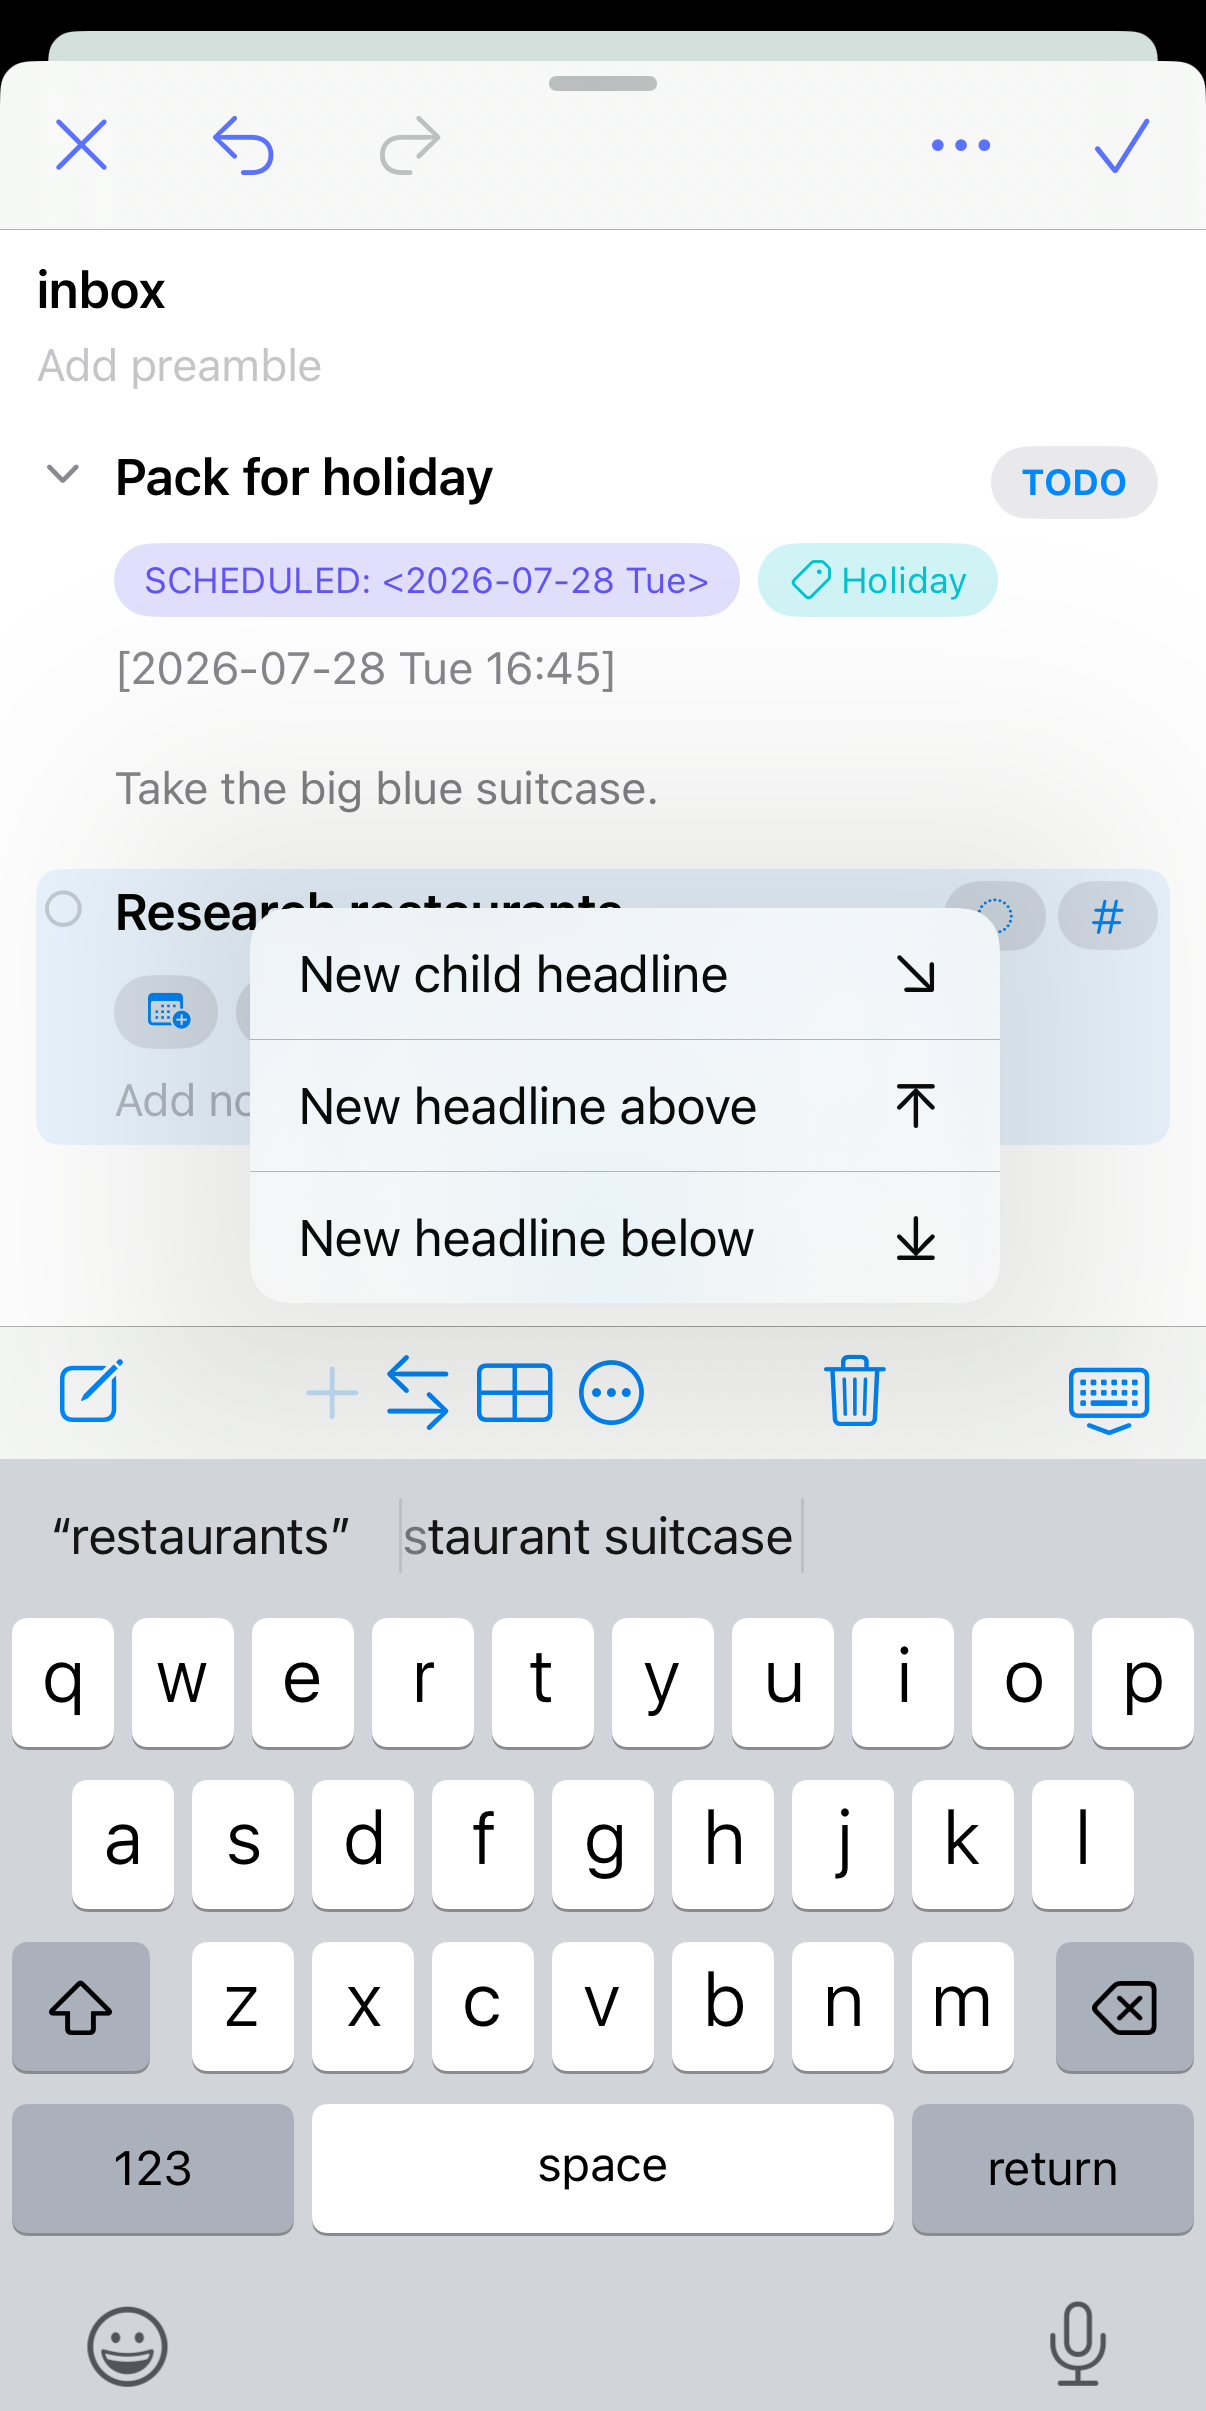
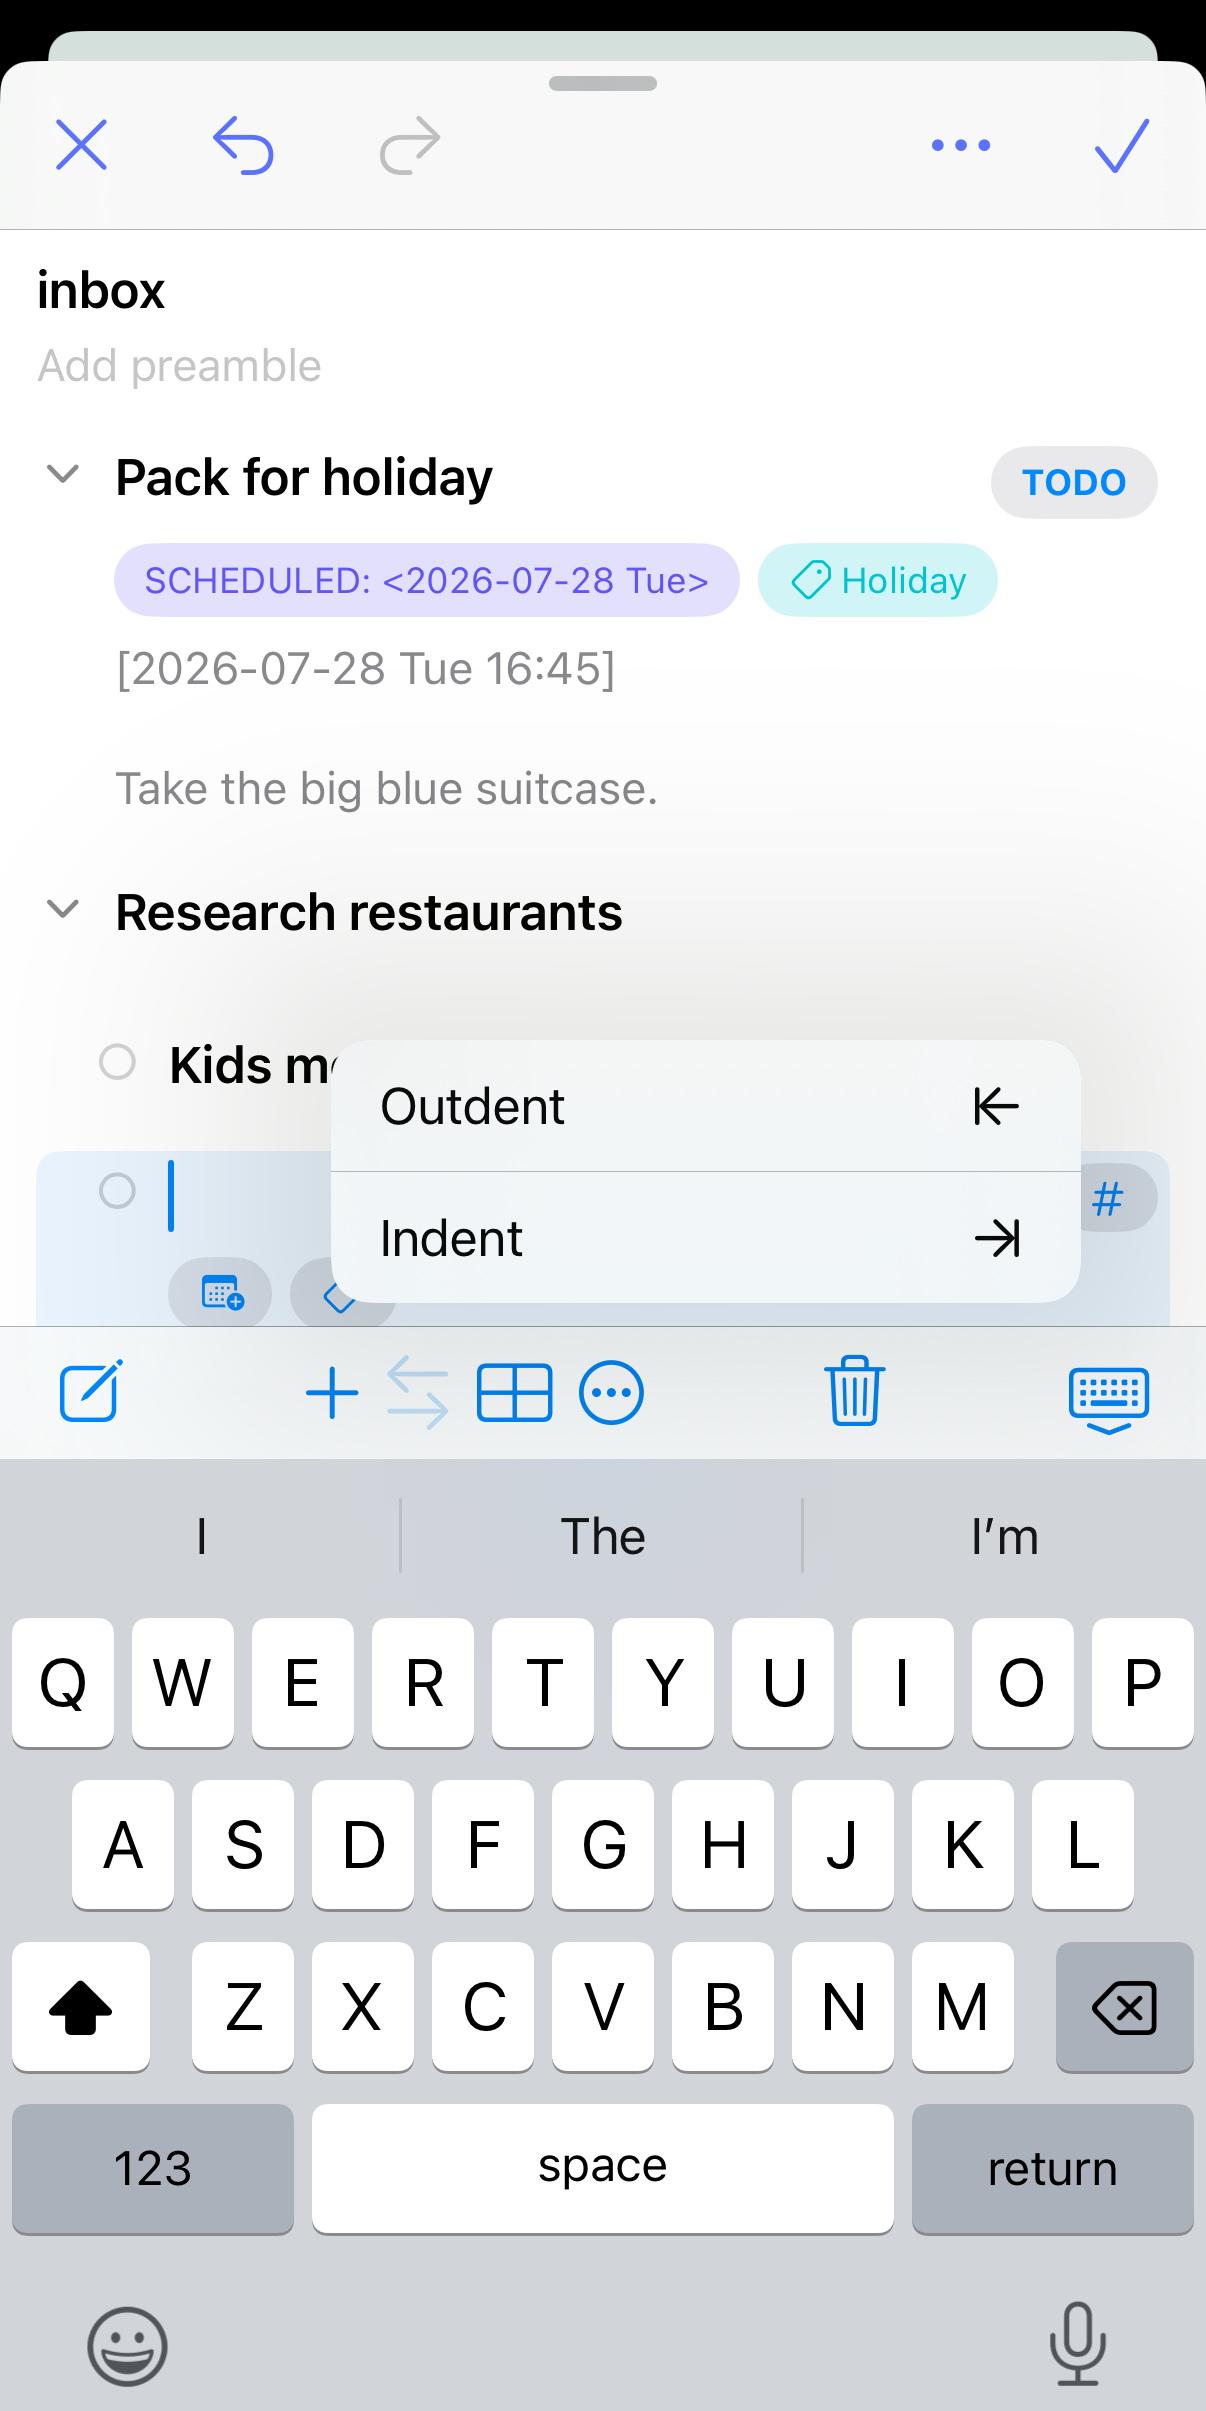
You can indent or outdent the current item by tapping the indent/outdent button on the toolbar above the keyboard, next to the plus button.
Other features
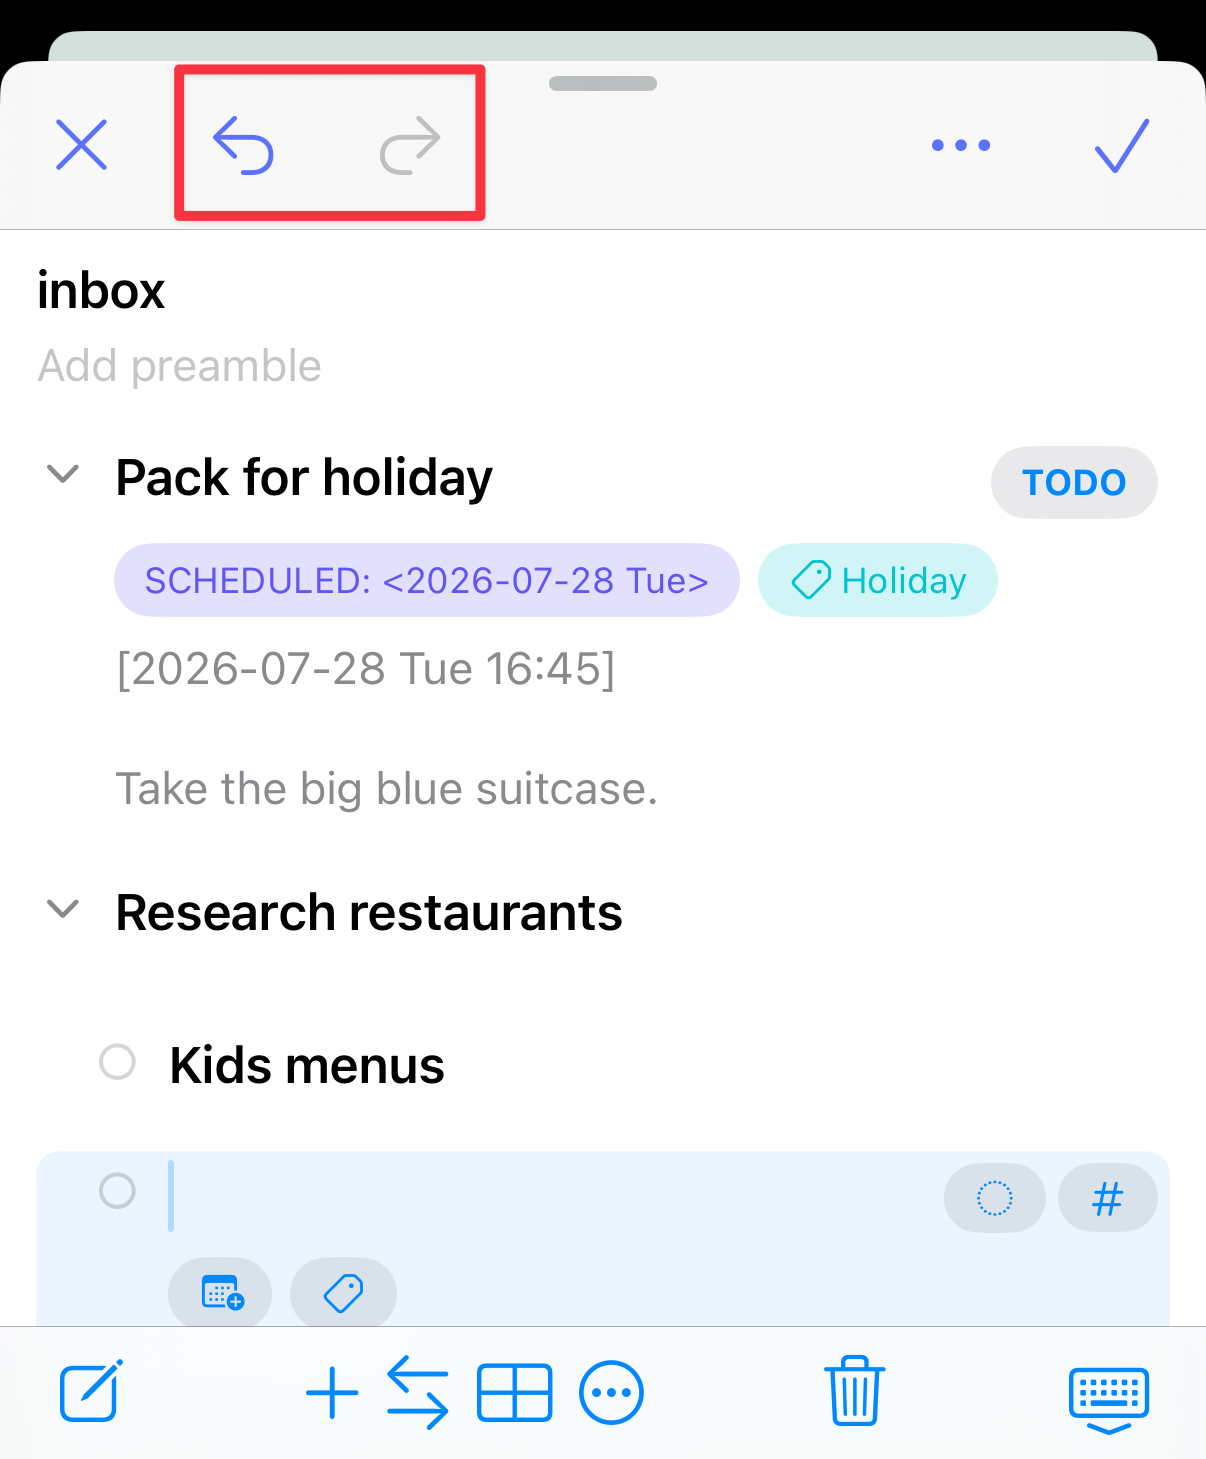
Full undo/redo is available when you are editing an outline.
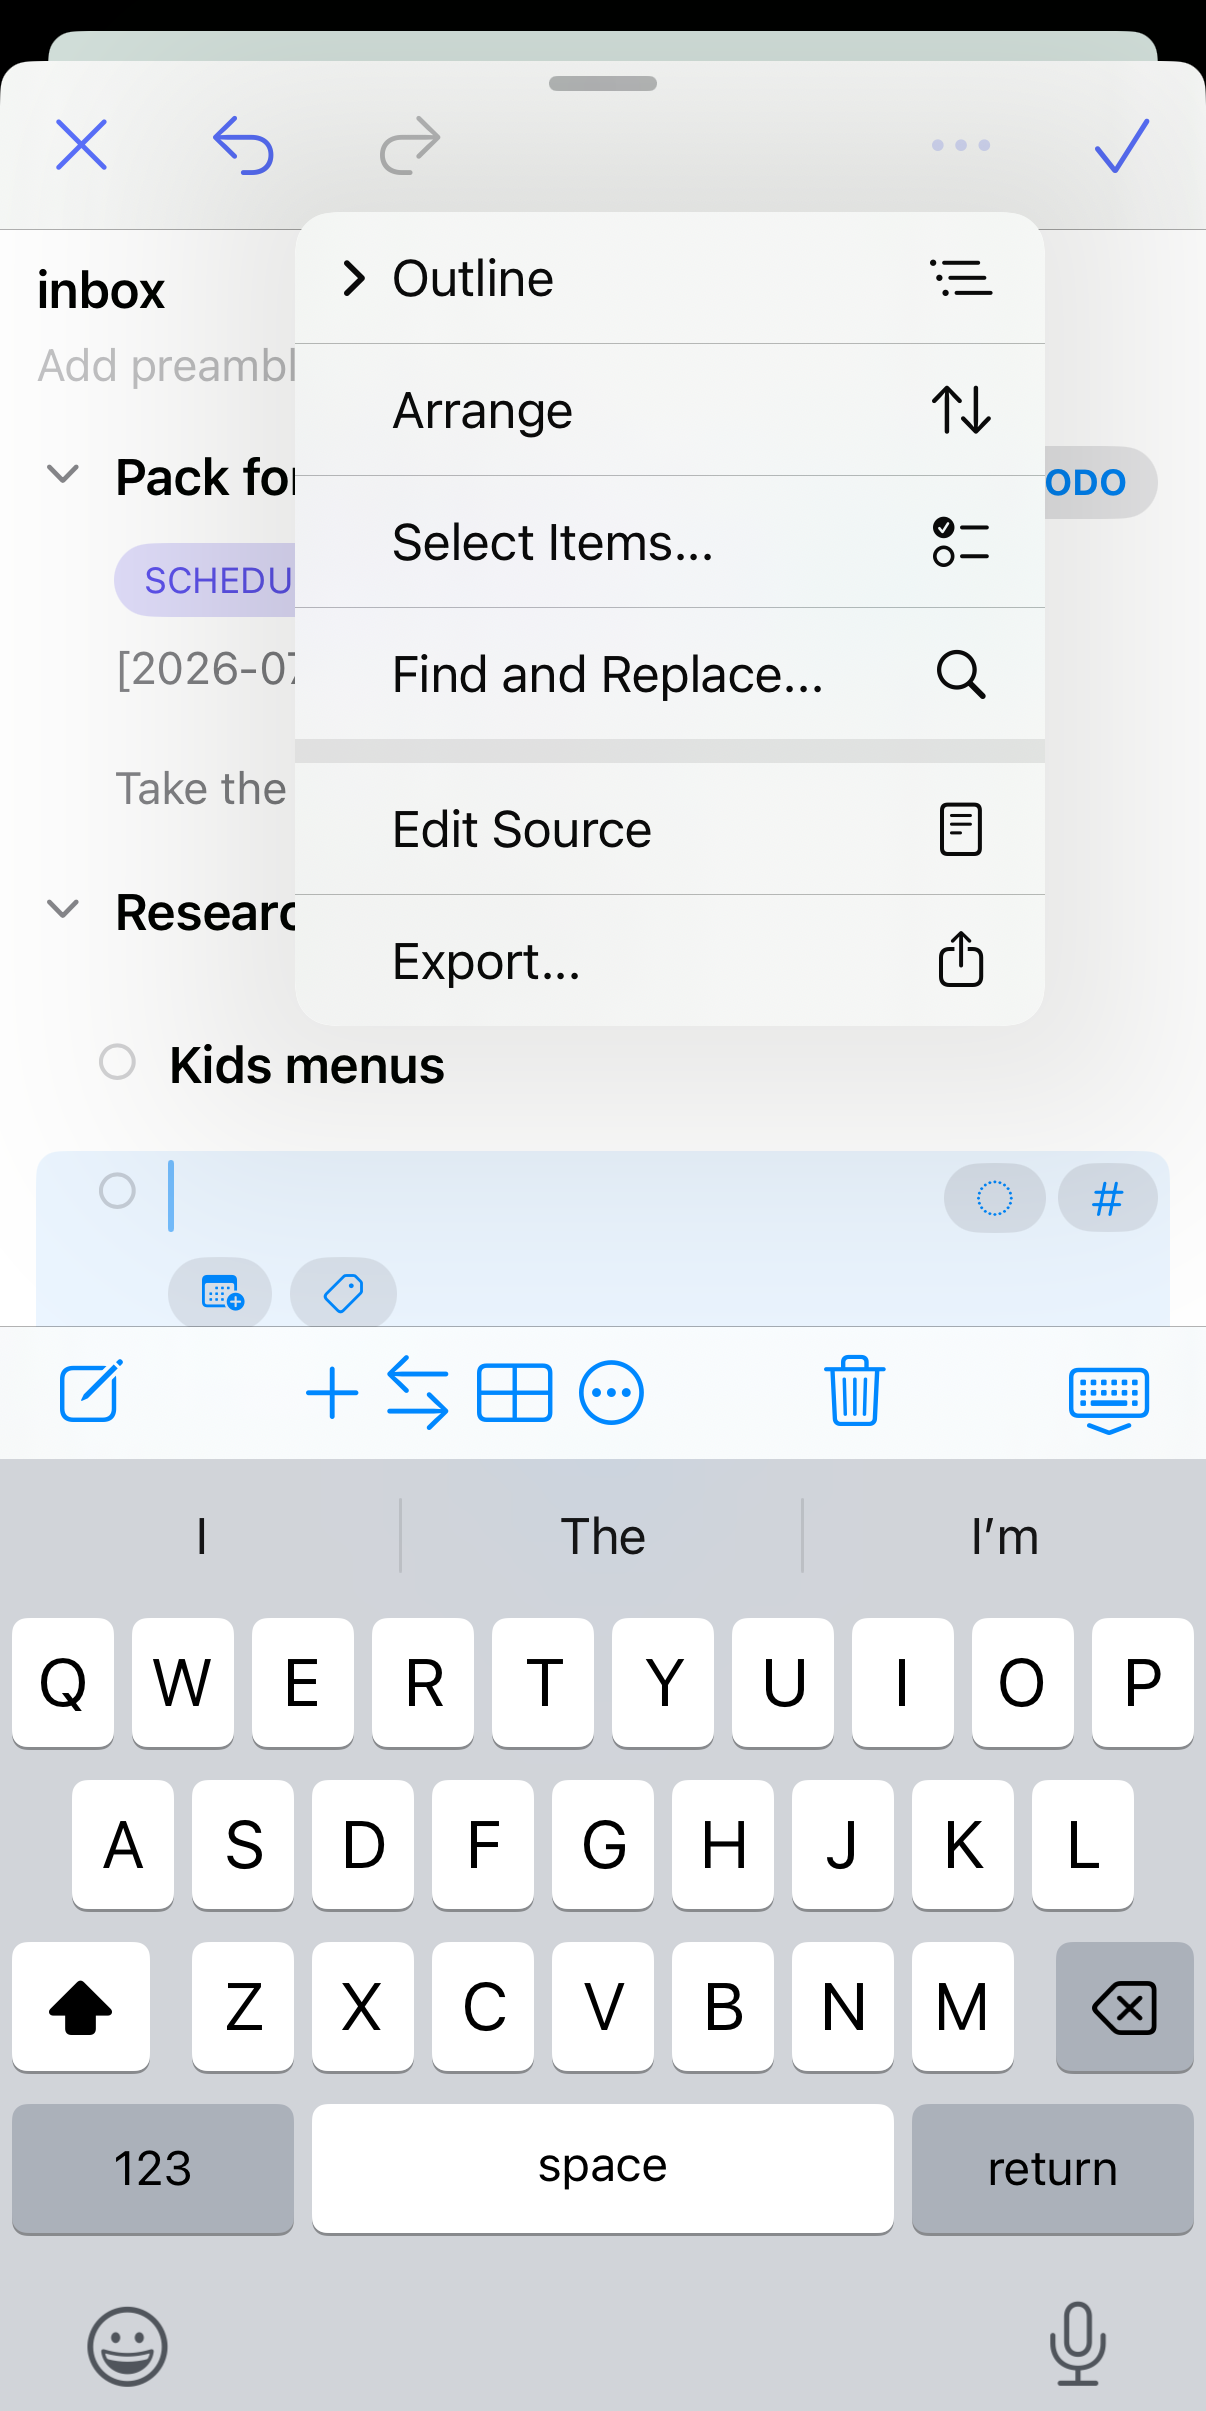
At the top of the screen is a menu button.
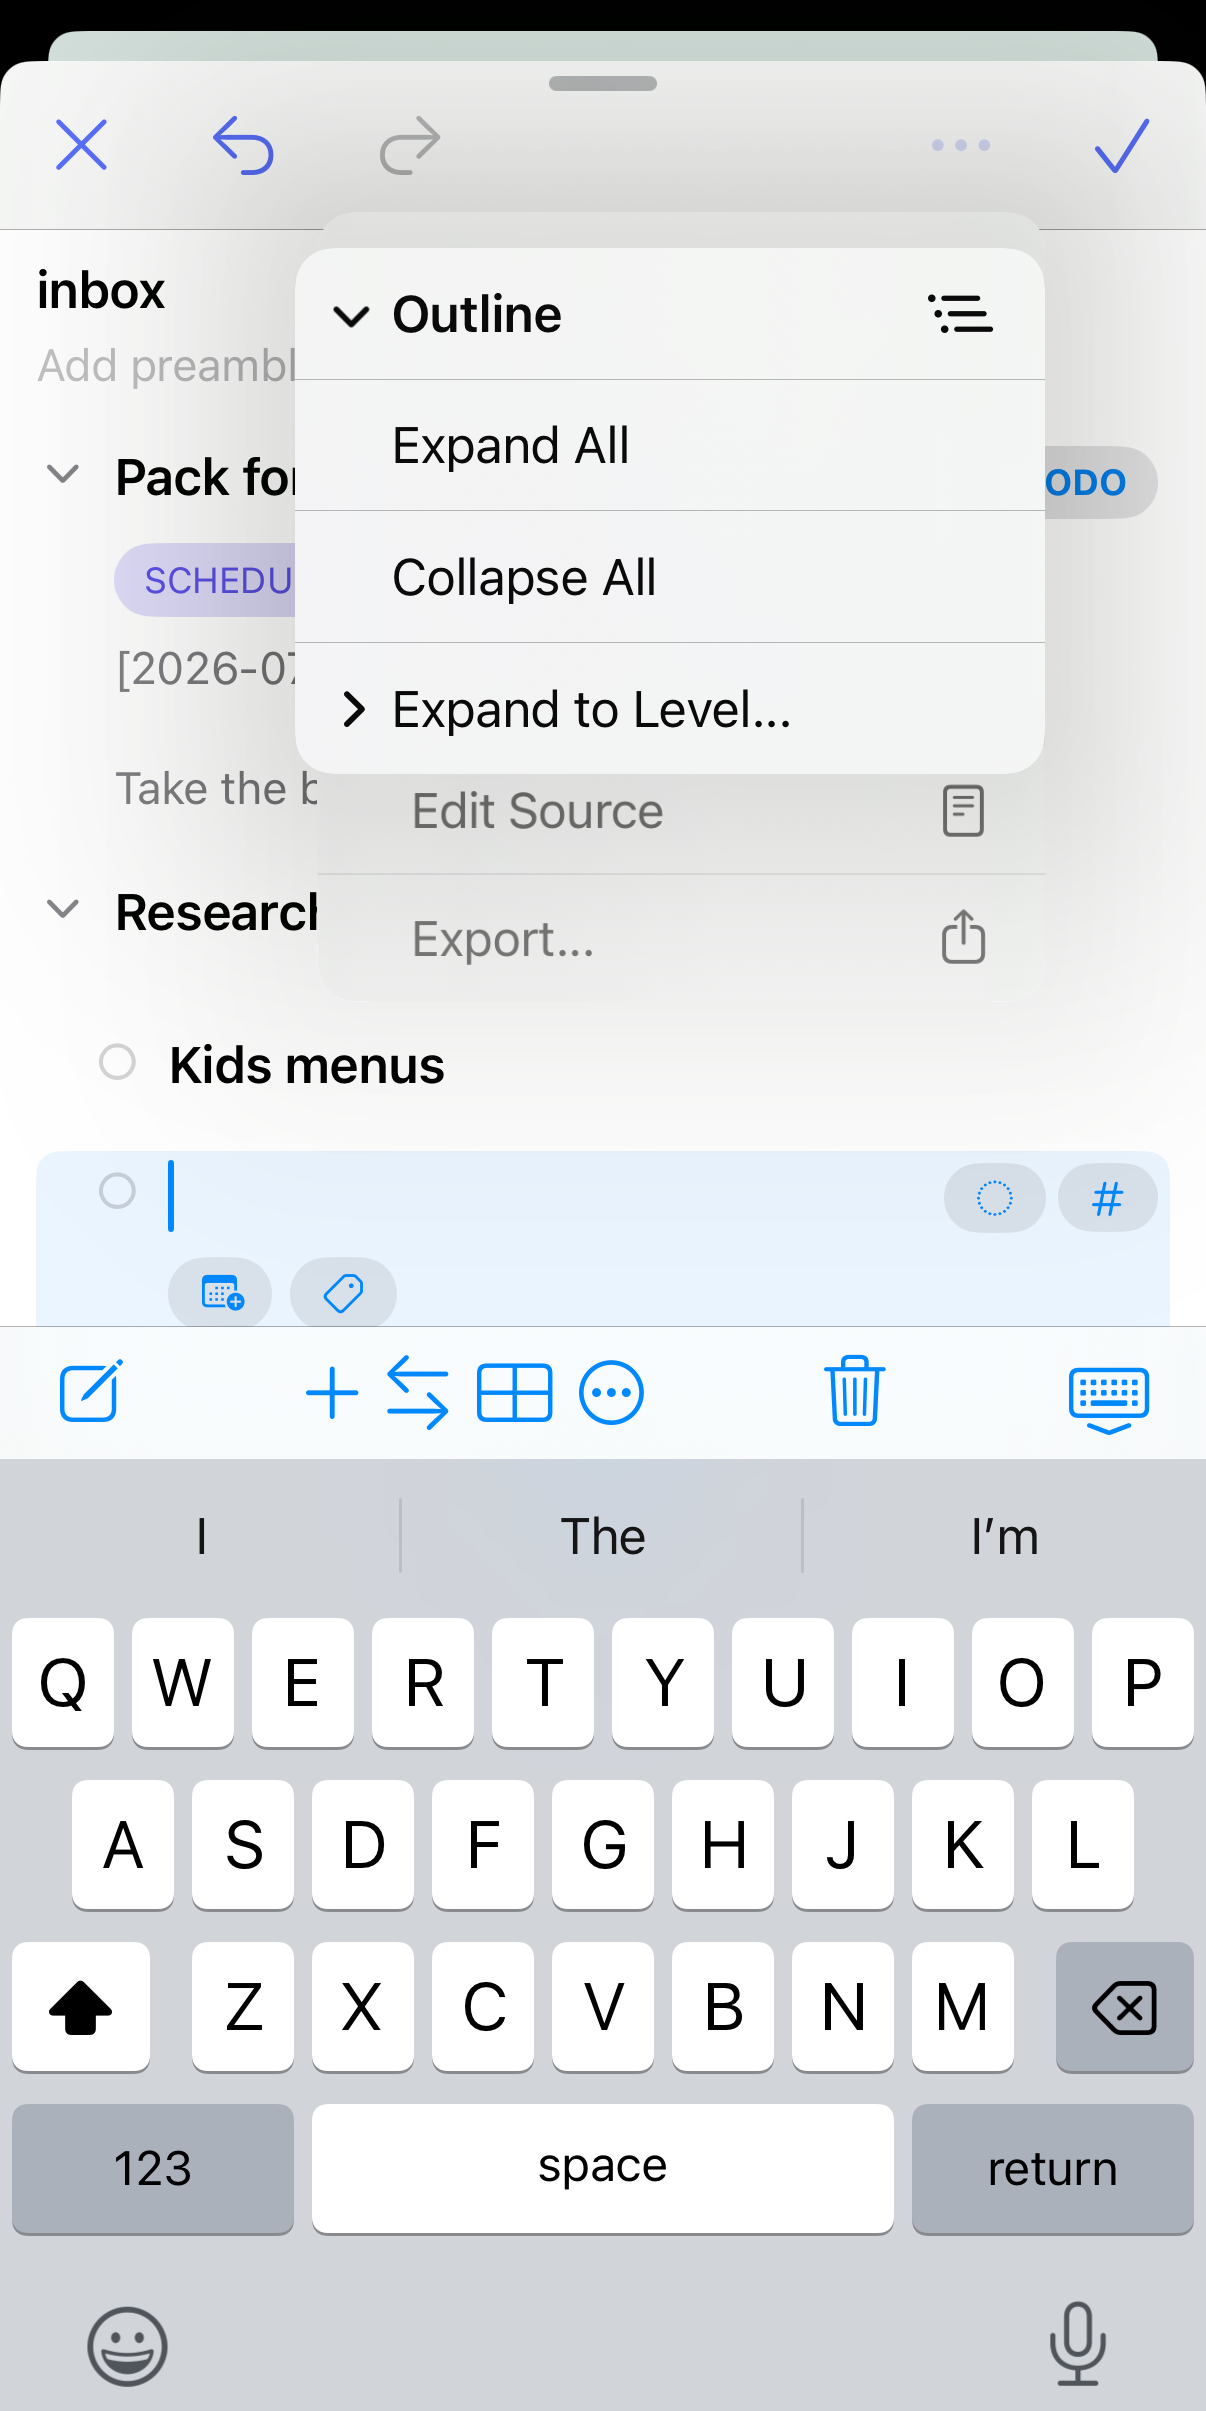
The Outline option allows you to quickly expand or collapse the entire outline, or expand it to a particular level.
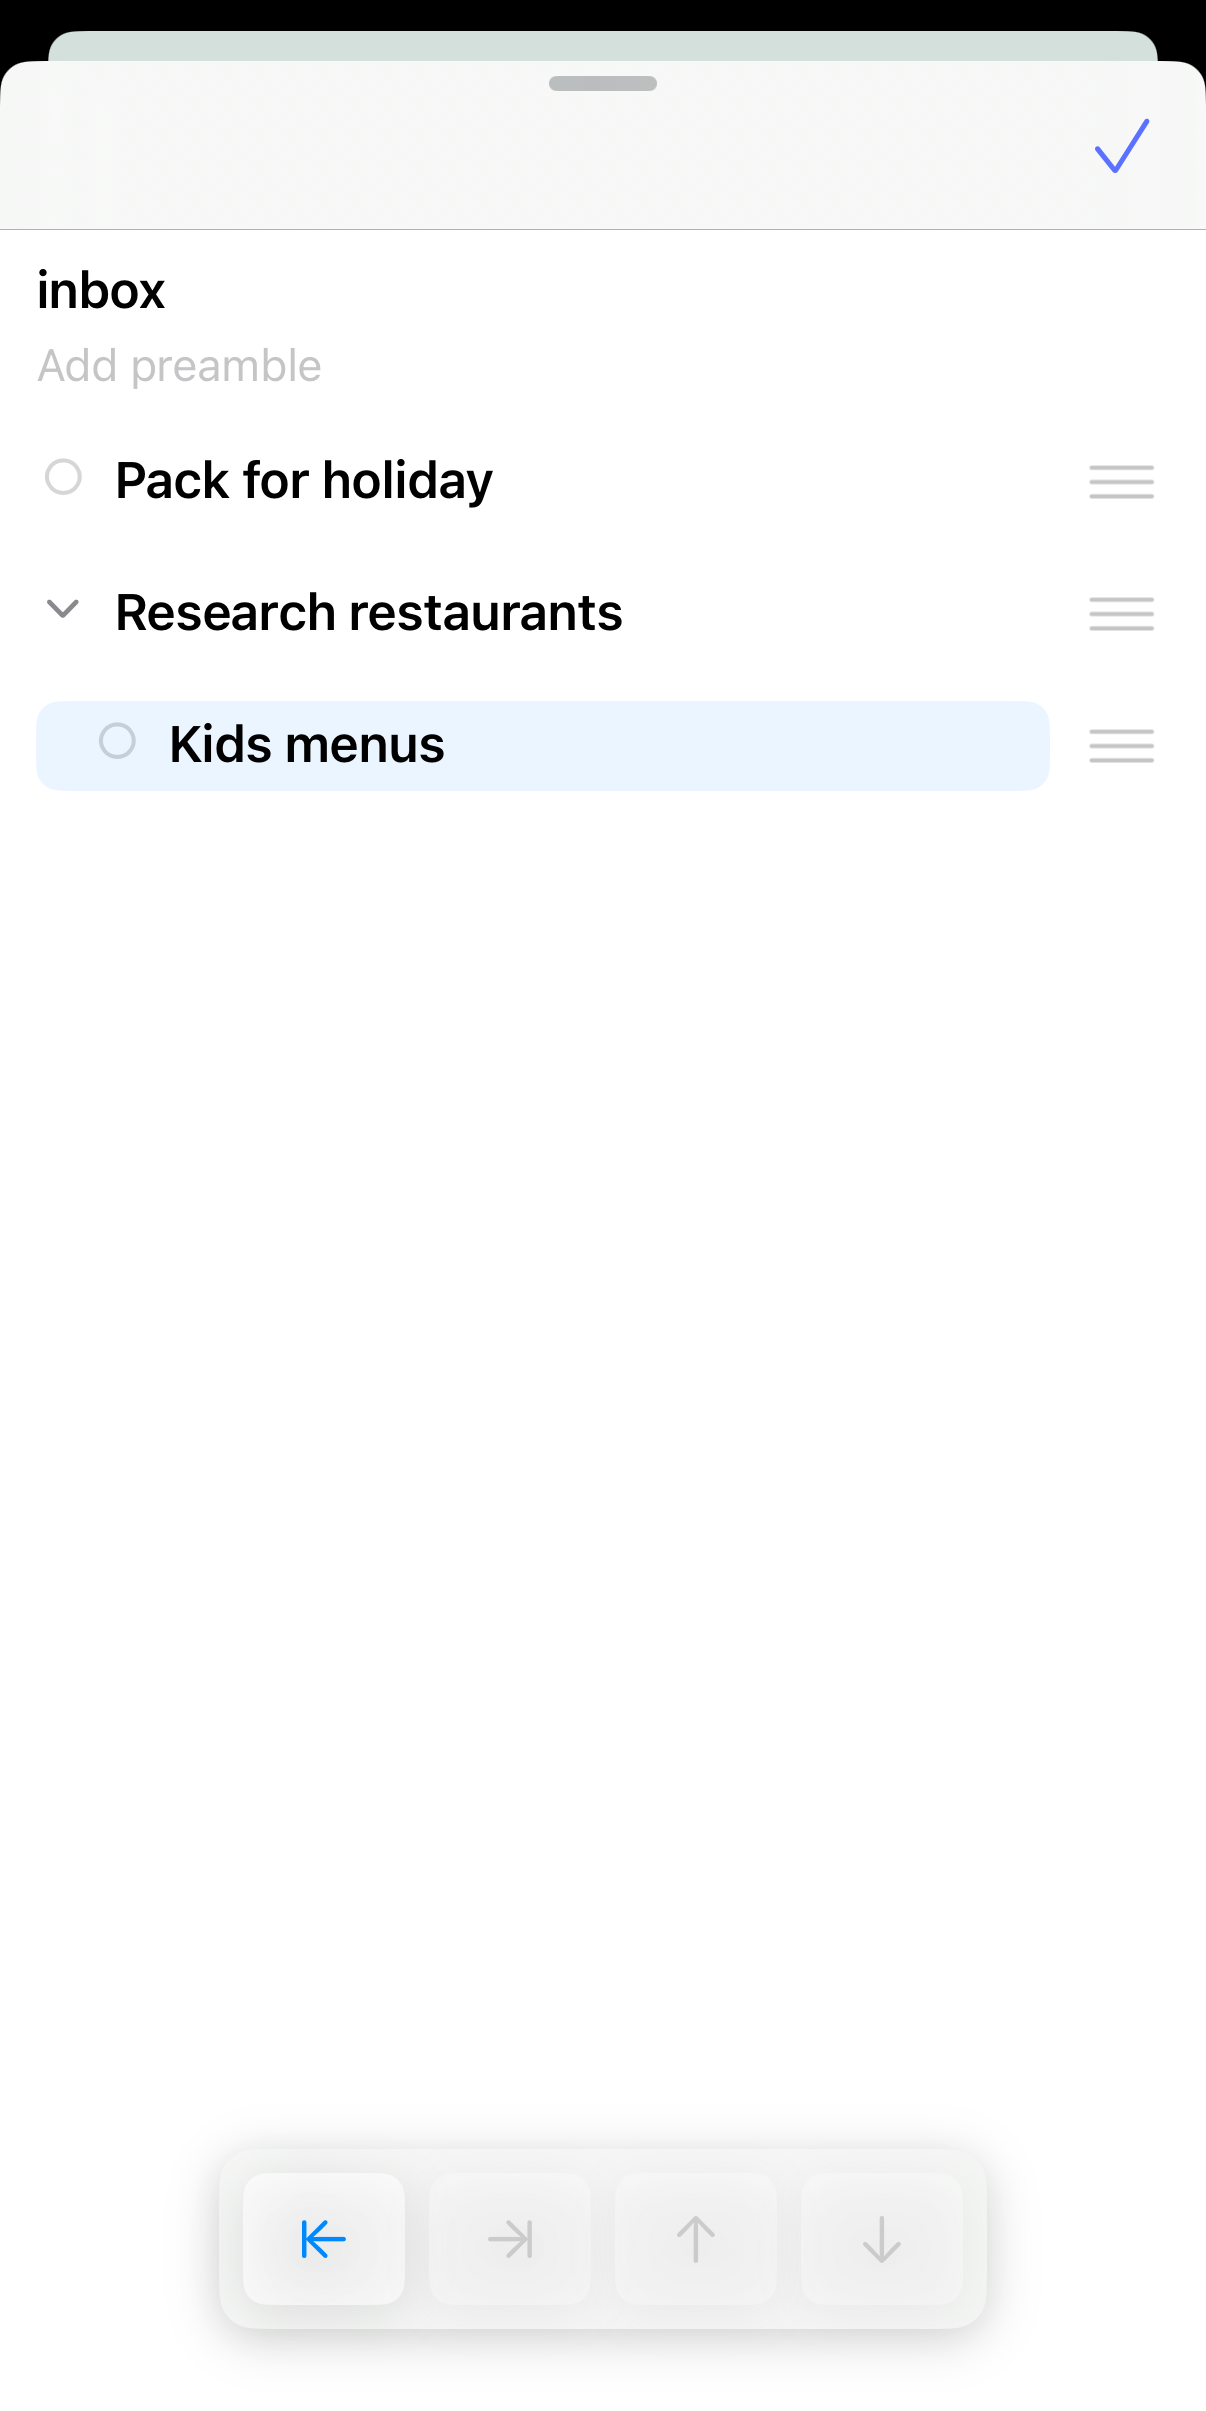
Arrange allows you to drag items around the outline, or carefully move items up/down or indent/outdent.
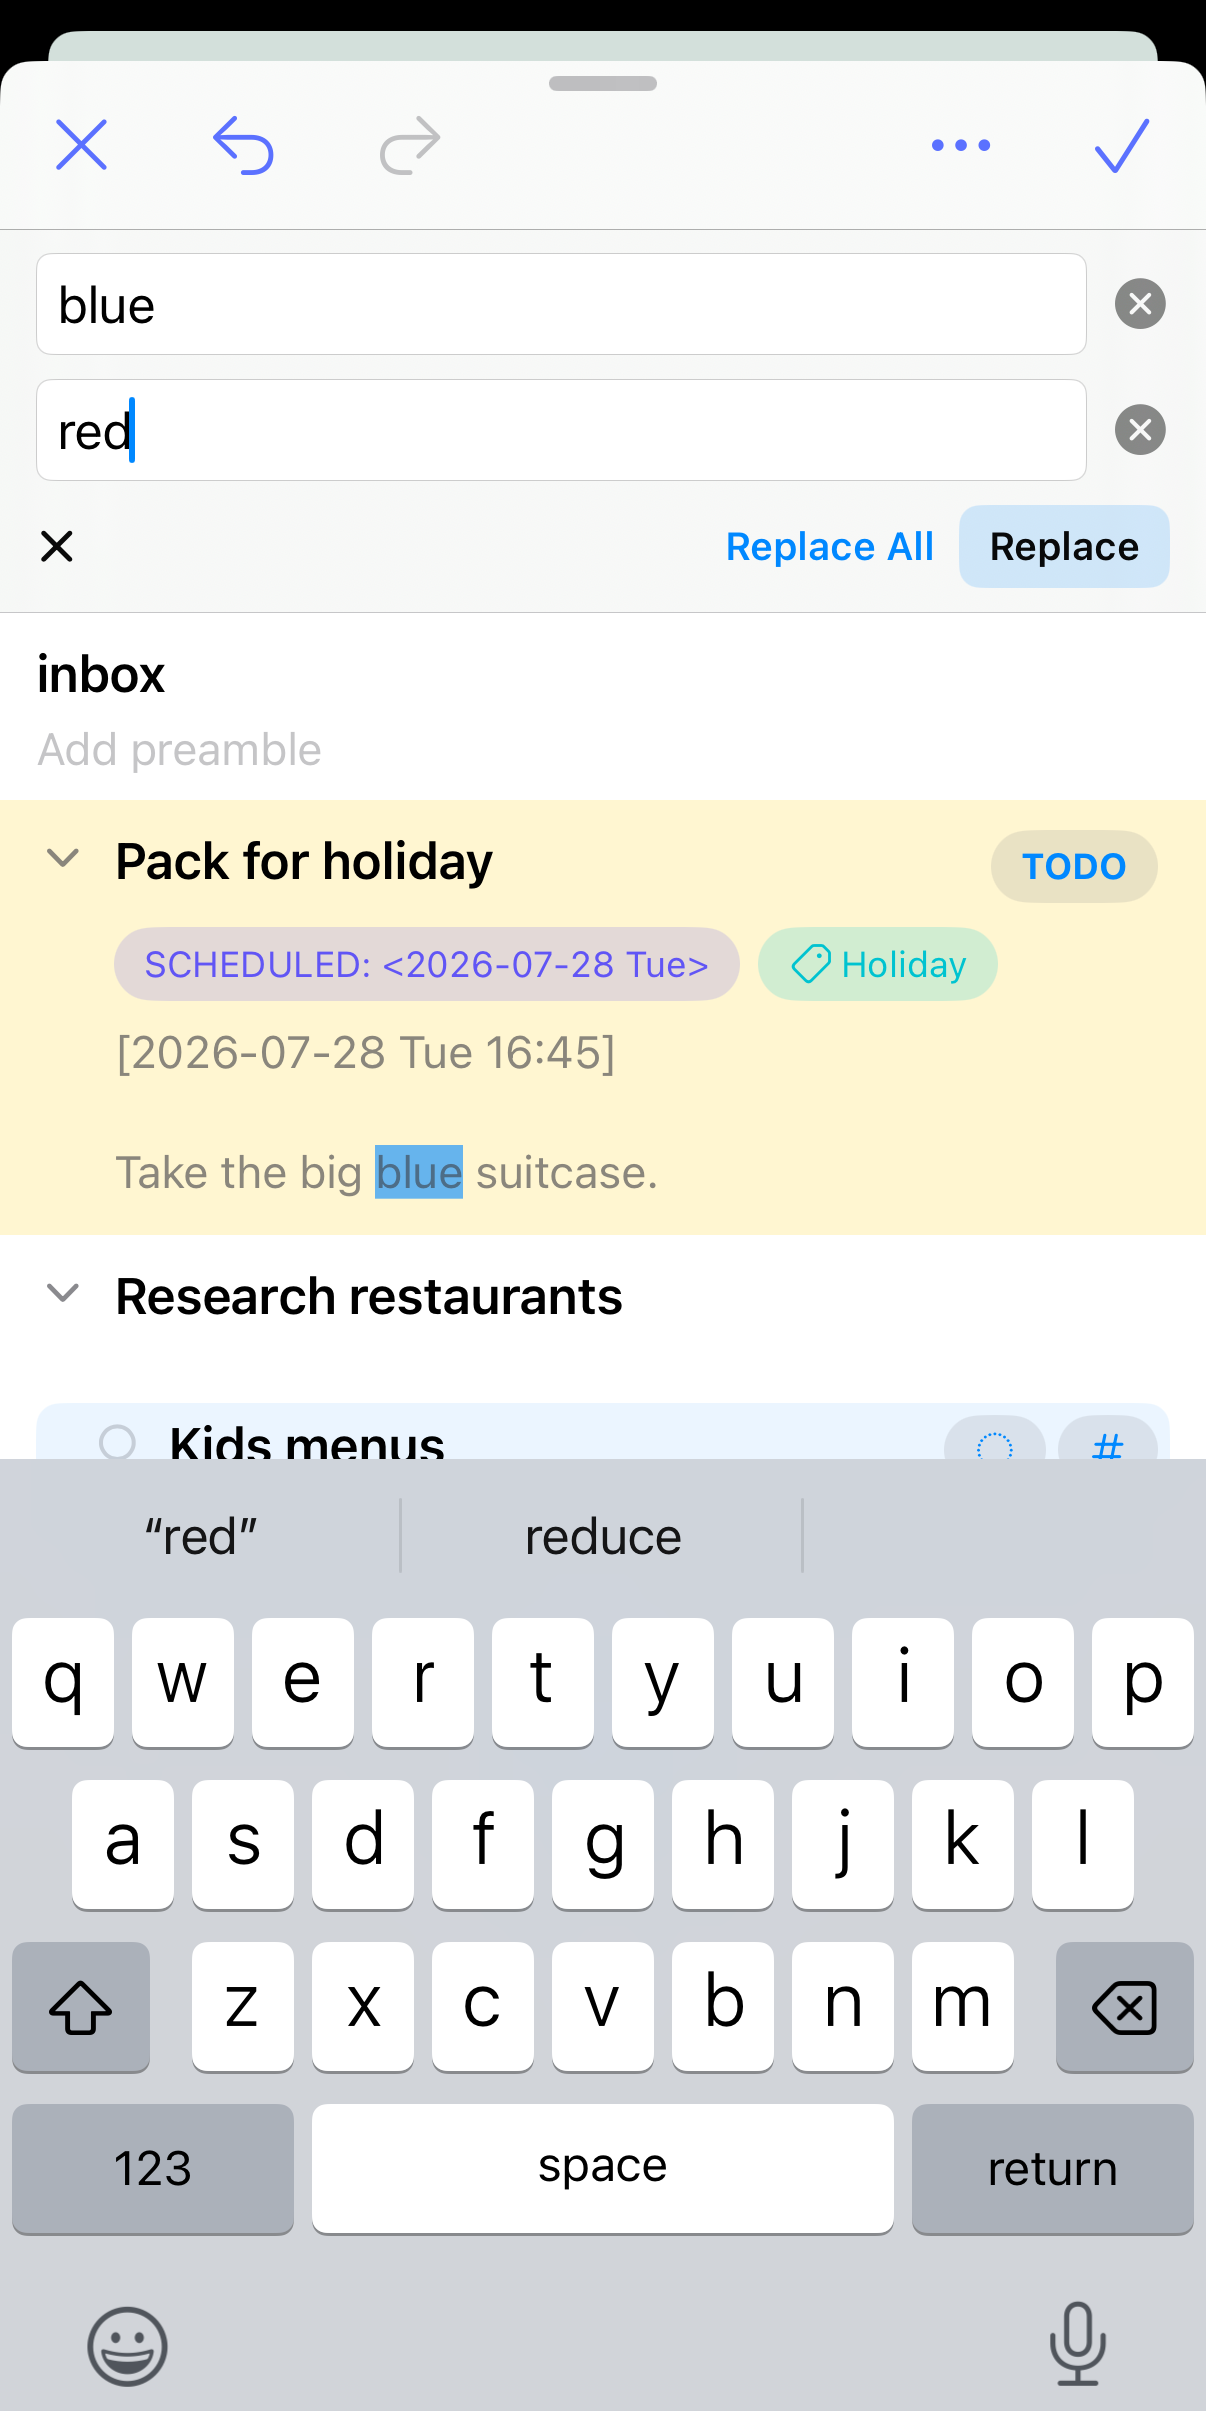
Find and Replace is very handy when working with larger outlines.
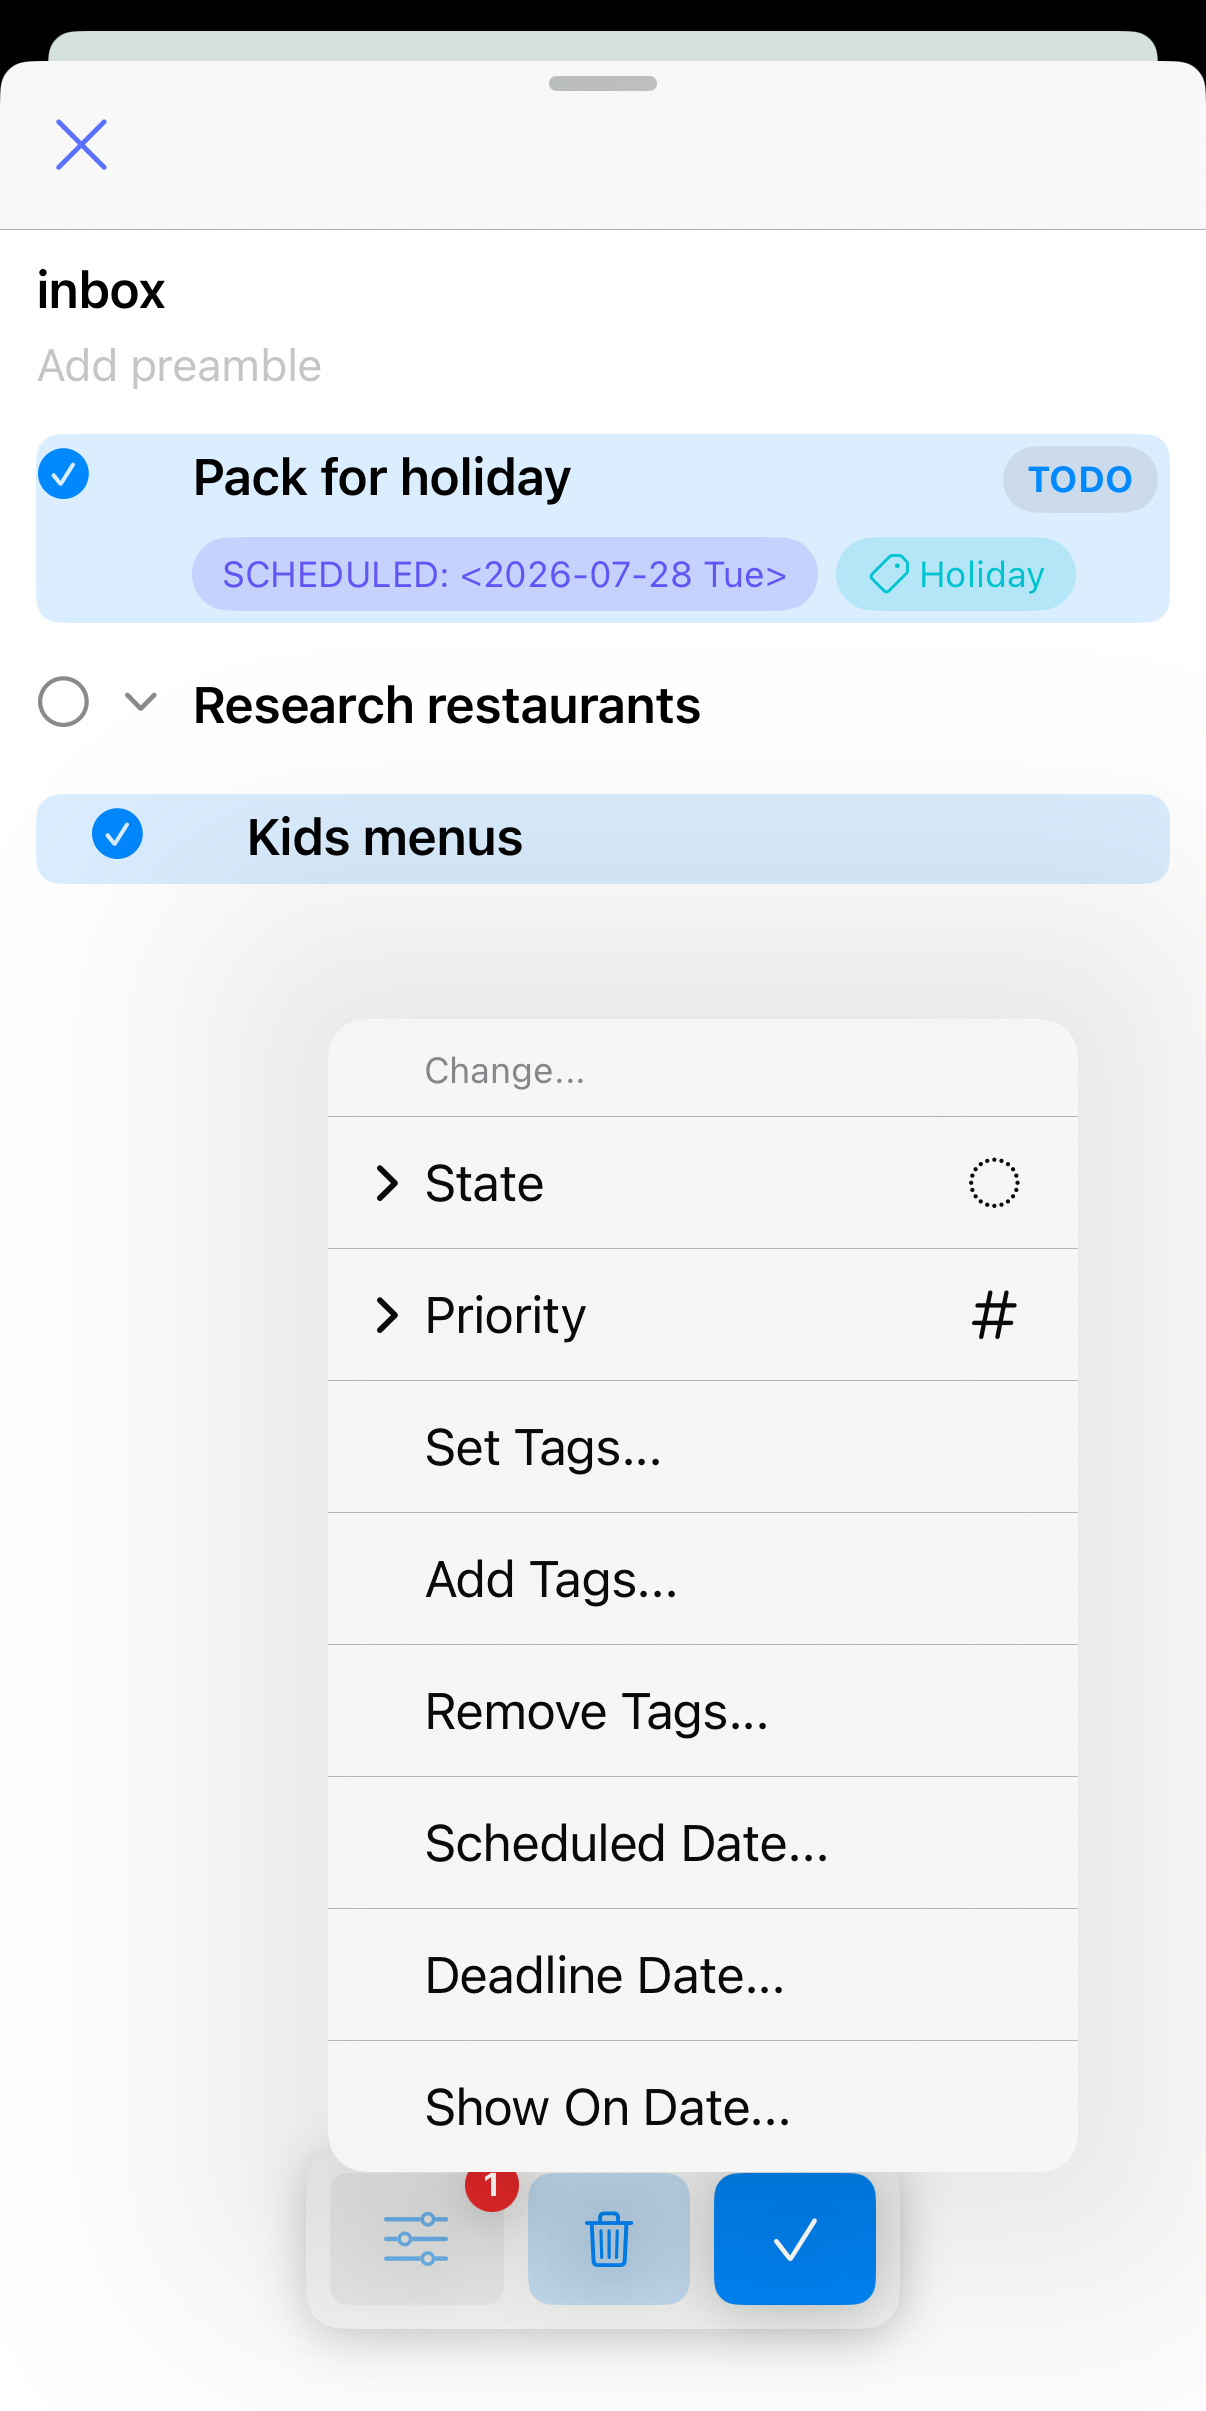
Select Items… is just like the feature with the same name on the Agenda/Tasks tab, but local to the current outline.
Edit Source opens the outline in the text editor, and Export gives you a rendered view of the current file.
If you tap the quick capture button from the Notes tag, you’ll be shown a blank outline. Where it says “New note” you can type the title of your new note. This will be assigned to the TITLE keyword for the file, and a filename will be created with the current date and a sanitized version of the name you gave it.
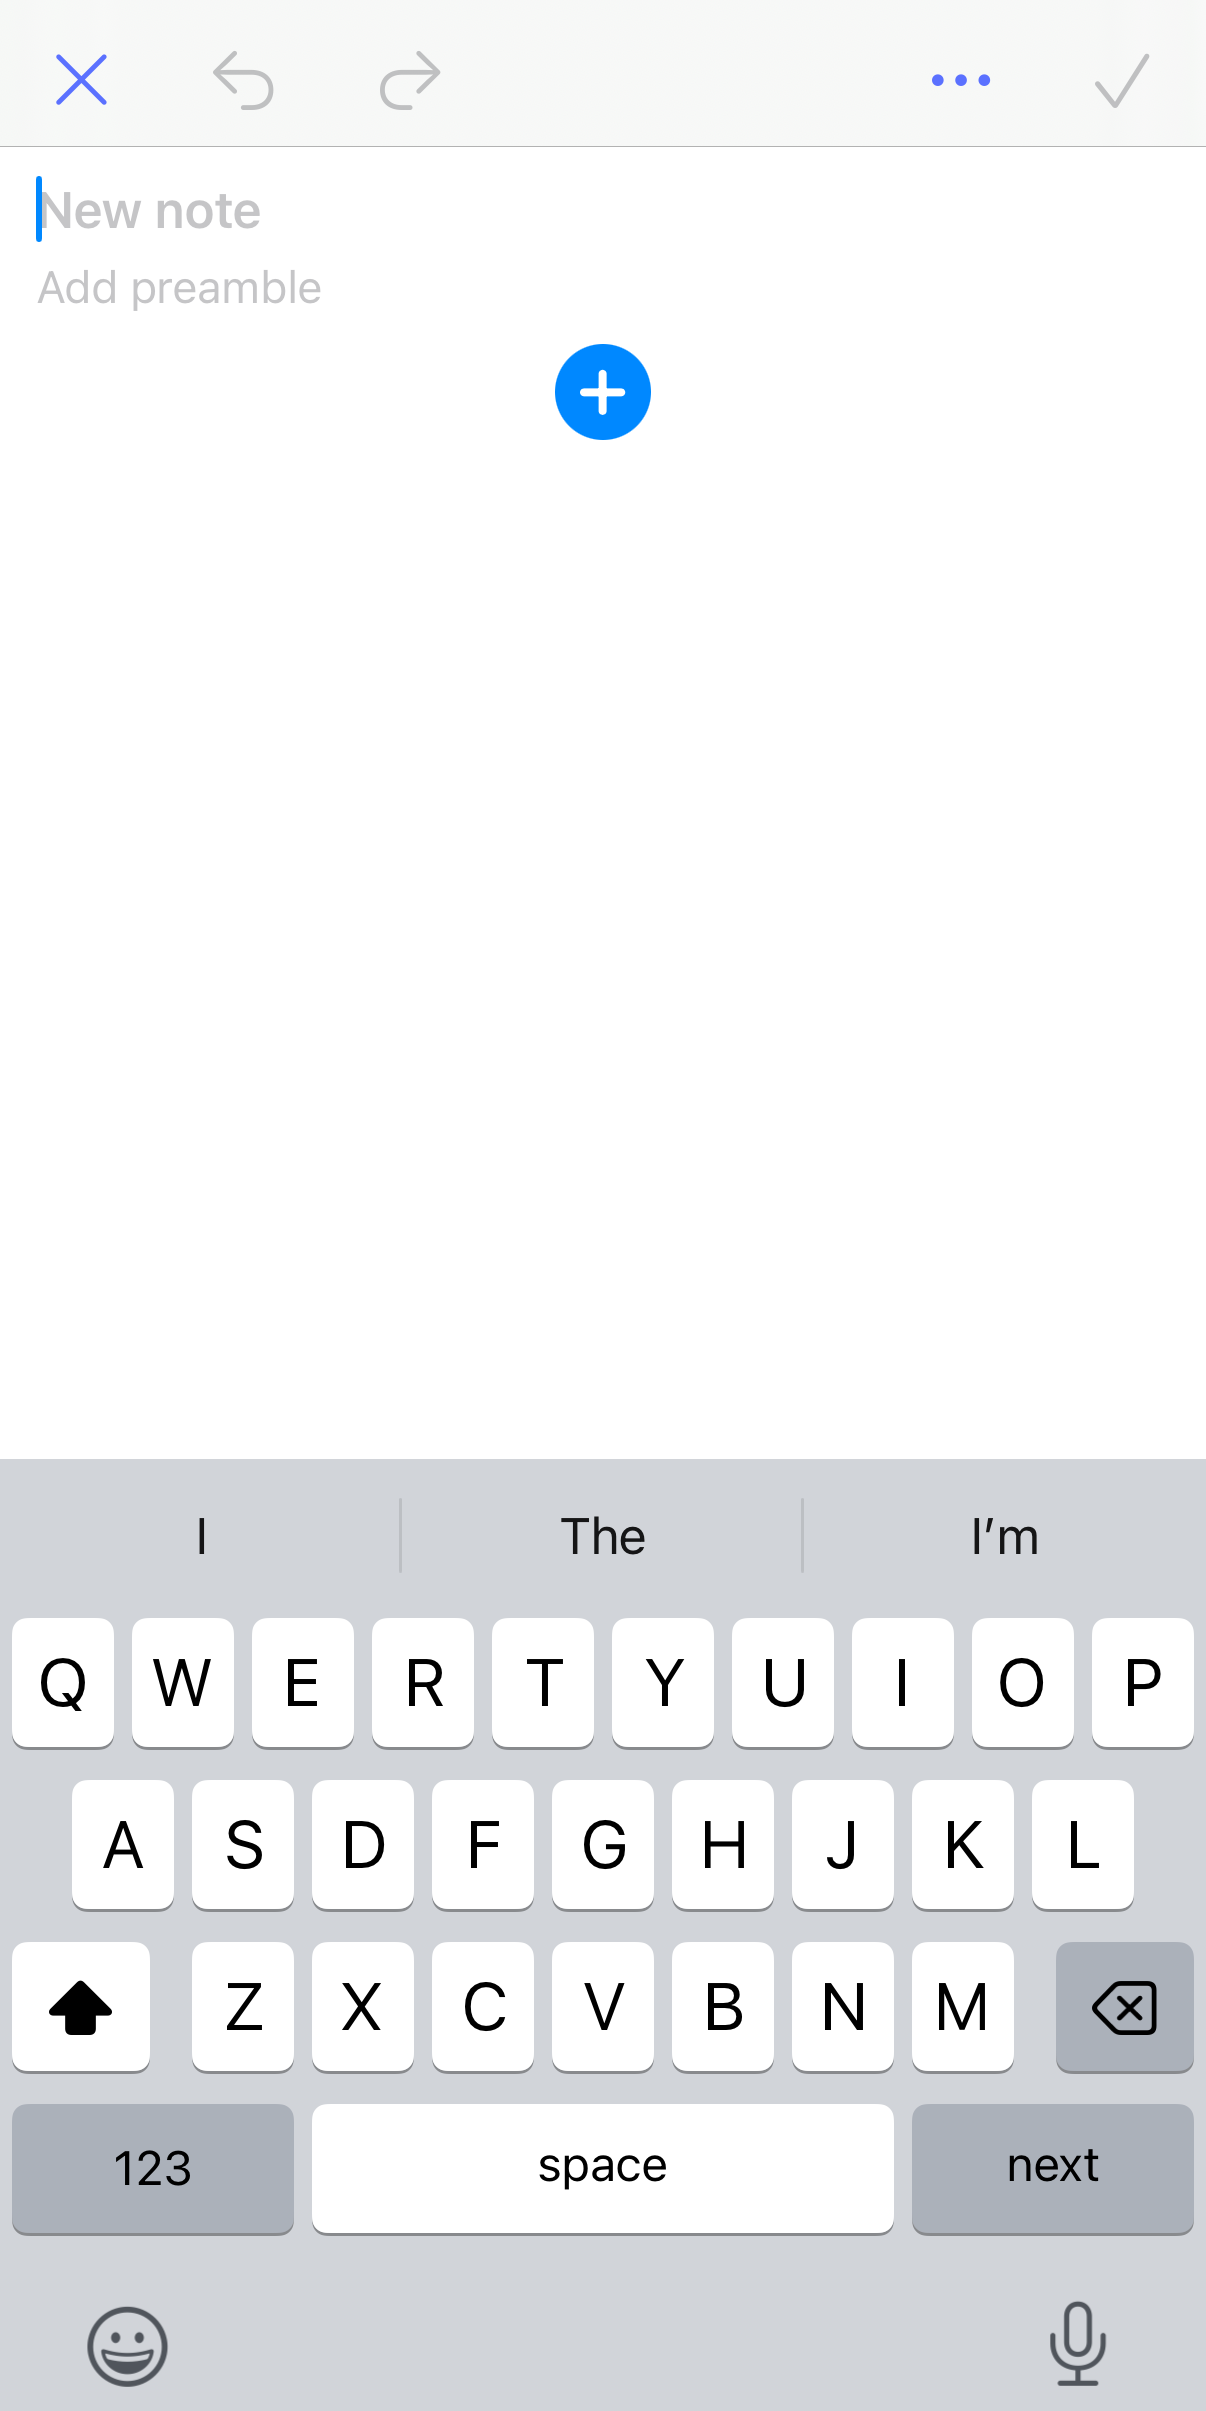
You’ll see underneath the note name that you can edit the preamble. The old outliner completely hid anything above the first headline. In the new outliner, all of this is visible and can be edited.
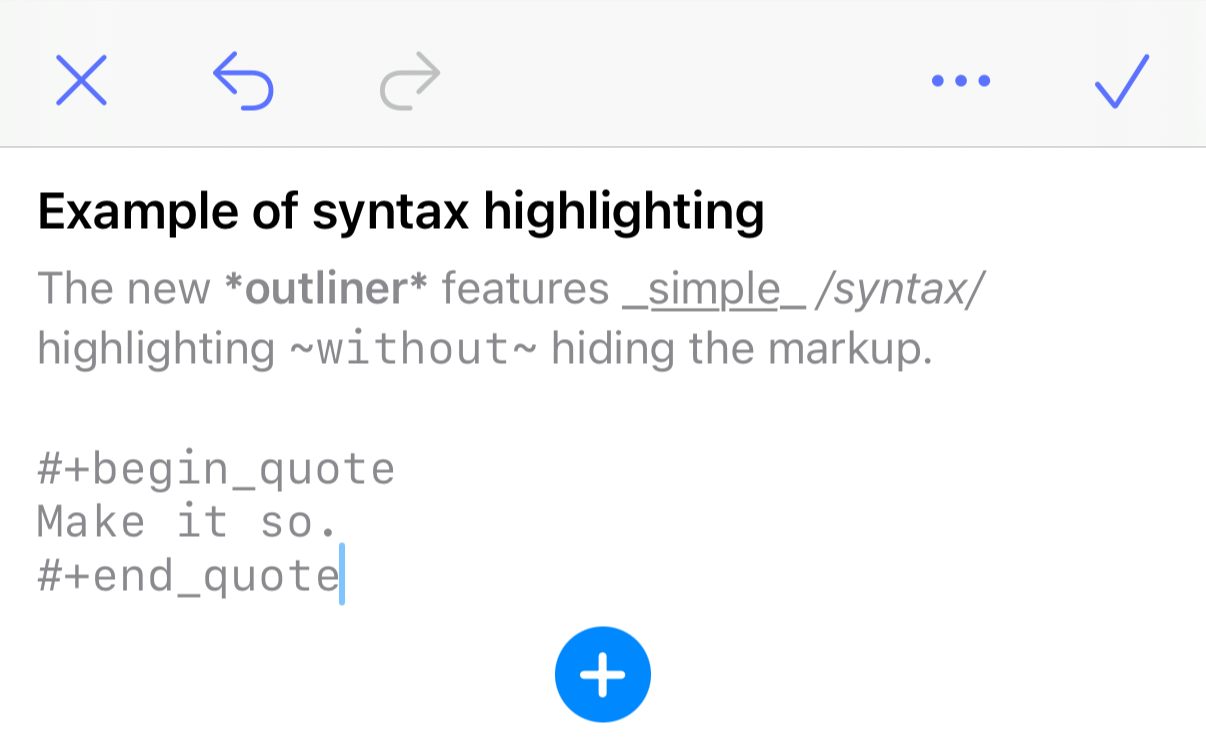
The preamble and notes feature simple syntax highlighting for Org mode without hiding the markup.
If you do try the new outliner, please let me know what you think. It’s still a work in progress, so bear that in mind when using it.